


Many tinkerers, hobbyists, and makers use Arduino to design and build devices. It's an open-source platform used for creating electronic projects. The multi-controller board supports multiple power options. However, charging the Arduino becomes a significant concern during remote projects. That's where a solar-powered Arduino comes into the picture.
A solar Arduino is what it sounds like – an Arduino that runs on solar energy. You can use solar power to keep your Arduino running without relying on traditional sources.
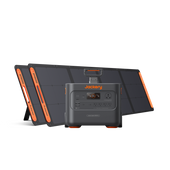
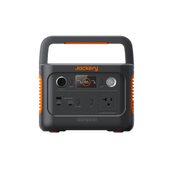
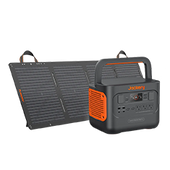
The exact number of watts used to run Arduino depends on the specific model and what it's being used for. Being a low-power-consuming device, it consumes around 0.3-0.4 watts. Jackery Solar Generator 300 Plus can be a reliable and portable solution to charge these low-power-consuming devices for hours.
In this guide, we will reveal what a solar-powered Arduino is, its types, and how to power it using a solar generator in 2024.
What Is A Solar Powered Arduino?
An Arduino consists of a physical programmable circuit board and a piece of software. The electrical device is used by designers, artists, newbies, and others interested in creating interactive objects or environments.

The solar-powered Arduino is used in data monitoring, remote sensing, and data logging projects. The solar panels absorb the sunlight, and the charge controller in the power station converts the solar to a stable regulated voltage to power the Arduino battery.
The Types Of Solar-Powered Arduino
There are four main types of solar-powered Arduino. Let us discuss them briefly.

Arduino Nano
It is a small and compact board with approximately 22 digital input/output pins, out of which there are 14 digital pins and 8 analog pins. Therefore, Arduino Nano is suitable for projects where space is limited.
Arduino Pro Mini
The Pro Mini version is the stripped-down version of the Uno board with a reset button, 14 digital input or output pins (of which 6 are used as PWM outputs), an onboard resonator, 6 analog inputs, and holes for mounting pin headers. Projects that require a small form factor can use Arduino Pro Mini.
Arduino Uno
The Uno is one of the best choices for starters. It features 14 digital input or output pins (of which 6 are used as PWM outputs), an ICSP header, 6 analog inputs, a USB connection, a power jack, a 16 MHz ceramic resonator, and a reset button. In addition, it contains components to support microcontrollers. You can power it with an AC-to-DC adapter or connect it to a computer with a USB cable to get started.
Arduino Mega
Unlike Arduino Uno, it has around 54 digital input/output pins, a USB connection, analog inputs, a reset button, and a power jack. This type of Arduino is suitable for projects that require a bunch of digital inputs and outputs.
Solar Powered Arduino Vs. Solar Generator For Arduino
Solar-powered Arduino and solar generators for Arduino are the two popular charging options for Arduino. While solar-powered Arduino is compact and helpful for small projects, solar generators are known to charge multiple other devices and Arduino.
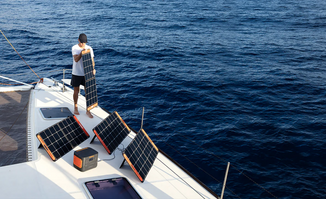
A solar generator is a powerful power solution suitable for outdoor events, camping trips, or anytime you need power on the go. Let us briefly compare the solar power Arduino with the solar generator for Arduino.
|
Types |
Parts & Tools |
Steps |
Pros |
Cons |
|
DFRobot Solar Power Manager 5V |
- DFRobot Solar Power Manager 5V - 3.7V Lithium Battery with a battery holder - 5V Solar Panel - Arduino with USB cable - Precision Flathead Screwdriver is the required tool |
1. Connect the Arduino battery to the solar power manager via battery terminals. 2. Connect the solar panels to the solar power manager via solar terminals. 3. Plug the device into the USB port located on Solar Power Manager.
|
Highly efficient power module Double charging mode with a USB charger and solar Features a constant MPPT algorithm |
Limited power output Weather conditions can affect the charging capability |
|
Solar Charge Controller with USB Port |
- Small 12V solar panel - Small 12V battery - Arduino with USB cable - 12V PWM charge controller with USB port - Battery with fuse to charge controller adapter cables - Screwdriver is the required tool |
1 Connect the charge controller and the battery via battery terminals. 2. Connect the solar panels to the charge controller using solar terminals. 3. Plug the Arduino into the charge controller’s USB port. |
Efficient charging and solar system protection USB ports for charging devices |
Limited features compared to the high-end charge controller Less efficient |
|
Solar Charge Controller with 12V to 5V Converter |
- Small 12V solar panel - Small 12V battery - Arduino with USB cable - 12V PWM charge controller with load terminals - Battery with fuse to charge controller adapter cables - 12V to 5V converter with USB port - Screwdriver is the required tool |
1 Connect the charge controller and the battery via battery terminals. 2. Connect the solar panels to the charge controller using solar terminals. 3. Connect the 12V to 5V converter to the charge controller using load terminals. |
Built-in voltage converter available Can efficiently charge low-power-consuming Arduino
|
May not be suitable for large systems Limited compatibility |
|
Solar Generator for Arduino |
- Solar panels - Portable power station (solar charge controller + rechargeable battery + solar inverter) |
1 Connect the solar panels with the portable power station. 2. Plug your electrical device into the power station. |
Portable and highly efficient Can power multiple devices with the help of ports available Suitable for outdoor adventures and camping trips |
High upfront cost |
Solar Powered Arduino
There are three methods to power a solar Arduino.
DFRobot Solar Power Manager 5V
Those looking to choose an affordable method to power their Arduino can opt for DFRobot solar power manager 5V. It works with a 3.7V lithium-ion battery and does not require any components. You can connect the solar panels with the Arduino to transfer solar energy and power the device.
Solar Charge Controller With USB Port
The solar charge controller connects the solar panels and the Arduino battery. The best part about the method is that it regulates the voltage of the solar panel and current to prevent overcharging and safely charge the battery. The downside of the technique is that it's costlier than other solutions.
Solar Charge Controller With 12V to 5V Converter
The third method allows you to power the Arduino without a USB port. It is a simple solution to charge an Arduino compared to other methods. You only need a screwdriver to connect the solar charge controller to the electrical device.
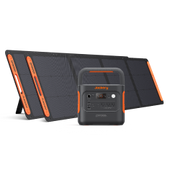
Solar Generator For Arduino
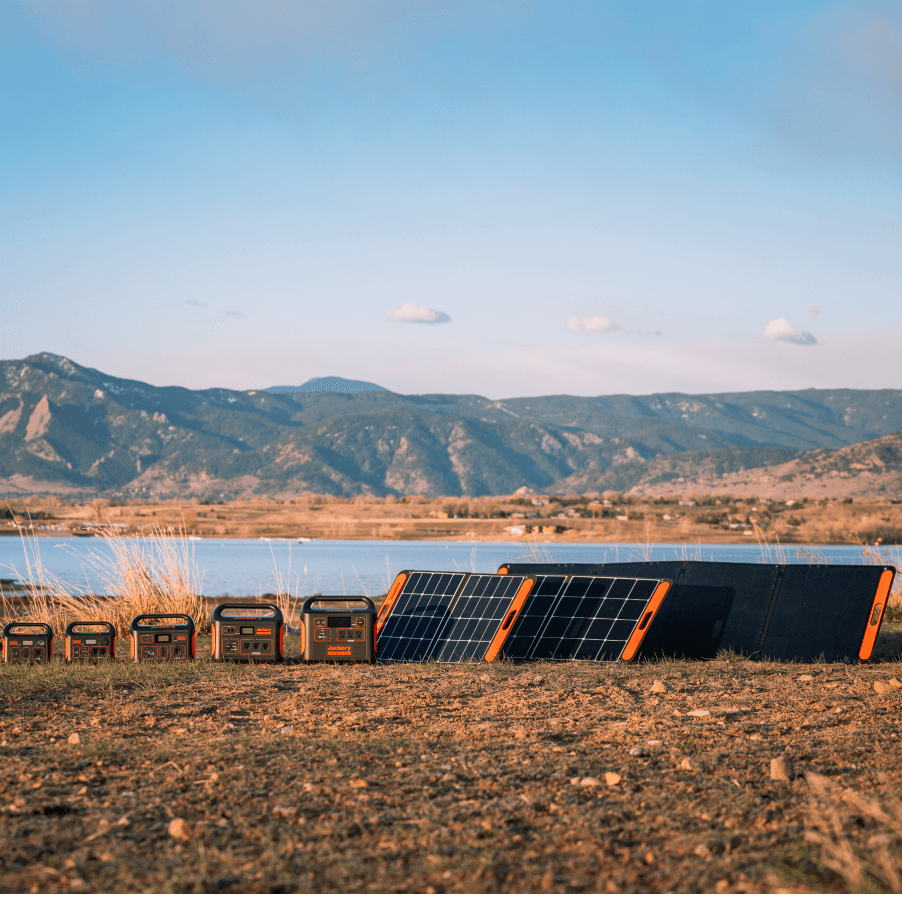
Unlike solar-powered Arduino, a solar generator can help you charge an Arduino (and other devices) for long hours. It combines solar panels and an electric battery storage system to provide stable power to all electrical appliances.
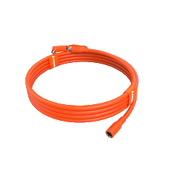
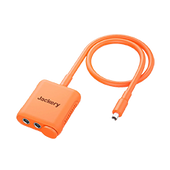
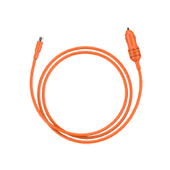
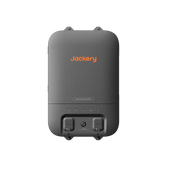
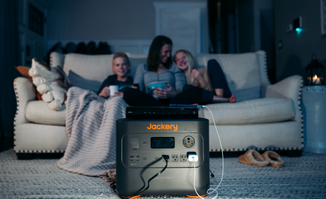
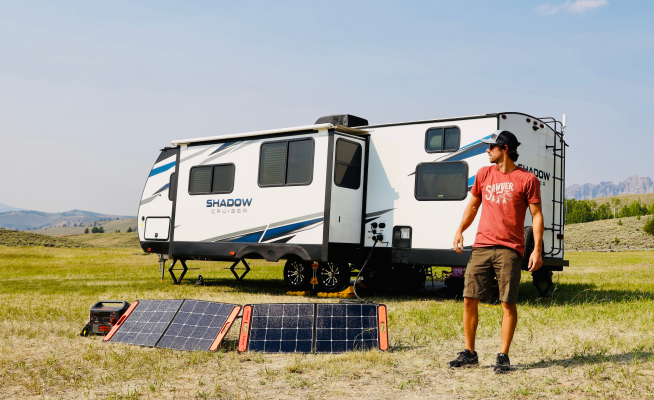
Jackery Solar Generators are a reliable green energy solution for powering Arduino or home/outdoor appliances during off-the-grid living, RVing, and home backup. Plug and play button of the solar generator makes it easy to use.
The powerful generator collects, converts, stores, and powers appliances without any installation. All the Jackery Solar Generators come with a pass-through charging feature, meaning you can charge the device while keeping it plugged into the solar panels.
How Many Watts Does An Arduino Use?
Before understanding how many watts a solar power Arduino uses, let us learn what is watt-hour (Wh), milliwatt (mW), and voltage. A watt-hour is the unit of energy represented when an appliance consumes one watt of power in one hour. It is used to measure the energy consumption of larger devices like refrigerators, coolers, AC, etc.
For smaller batteries, a milliwatt-hour is used. One milliwatt-hour is equal to 0.001 watts. As a solar power Arduino consumes less energy, it is generally measured in milliwatt hours. The voltage consumed by Arduino is around 5V, depending on its size, capacity, and type.
An Arduino typically consumes around 286mW and 1282mW of power. When Arduino powers display and uses wireless communication like Bluetooth or WiFi, it draws higher power. In sleep mode, the Arduino consumes as low as 230mW.

How Much Solar Power Does An Arduino Need?
The power consumption of an Arduino depends on the type and the purpose for which you are using it. Below we have curated a list of power consumed by Arduino based on different parameters.
|
Test |
Reading (C Tester) |
Reading (M Tester) |
Reading (Watt Meter) |
Length of Time |
Daily Power Consumption |
|
Baseline (Blink) |
389 mW |
280 mW |
0.4 W |
2-3 Hours |
0.8-1.2 Wh |
|
Low Normal |
398 mW |
286 mW |
0.4 W |
2-3 Hours |
0.8-1.2 Wh |
|
Low Low (Sleep) |
347 mW |
230 mW |
0.3 W |
2-3 Hours |
0.6-0.9 Wh |
|
Medium (LED Display) |
1251 mW |
1135 mW |
1.6 W |
2-3 Hours |
3.2-4.8 Wh |
|
Medium Plus (WiFi and LED Display) |
1380 mW |
1270 mW |
1.9 W |
2-3 Hours |
3.8-5.7 Wh |
|
High (WiFi, LED Display, Floating points maths) |
1407 mW |
1282 mW |
1.9 W |
2-3 Hours |
3.8-5.7 Wh |
|
WiFi Only |
586 mW |
474 mW |
0.7 W |
2-3 Hours |
1.4-2.1 Wh |
|
Bluetooth Only |
556 mW |
459 mW |
0.7 W |
2-3 Hours |
1.4-2.1 Wh |
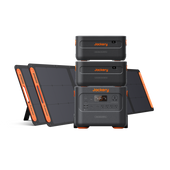
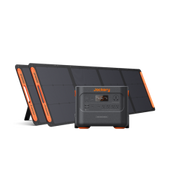
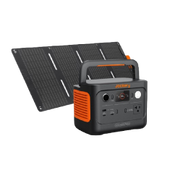
Jackery Solar Generator For Arduino
Arduino needs a constant and steady power supply to function appropriately. A solar generator combines highly-efficient solar panels and a large-capacity battery to charge devices like Arduino.

Jackery Solar Generators are a reliable power source for home or outdoor devices. The solar generators are portable, noise-free, and efficient to meet the power needs of Arduino. The best part about Jackery Solar Generators for Arduino is that you don't have to install or maintain them.
Instead, you can plug the electrical device into the Jackery Explorer Portable Power Station to charge and run your device for long hours. Below we have listed different sizes of solar generators that you can choose for Arduino.
|
Series |
Capacity |
Ports |
Arduino Watts |
Working Hours |
|
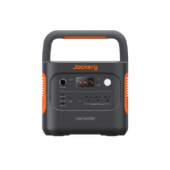
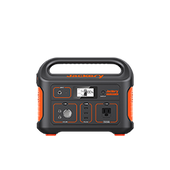
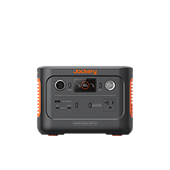
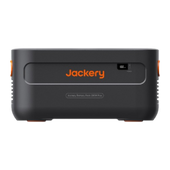
Jackery Solar Generator 240 v2 |
256Wh |
AC Output (x1): 120V~ 60Hz, 2.5A, 300W Rated, 600W Surge peak USB-A Output (x1): 15W Max, 5V⎓3A Max USB-C Output (x1): 15W Max, 5V⎓3A Max USB-C Output (x2): 100W Max, 5V⎓3A, 9V⎓3A, 12V⎓3A, 15V⎓3A, 20V⎓5A Car Port (x1): 12V⎓10A |
Baseline (Blink): 0.4 W Low Normal: 0.4 W Low Low (Sleep): 0.3 W Medium (LED Display): 1.6 W Medium Plus (WiFi and LED Display): 1.9 W High (WiFi, LED Display, Floating points maths): 1.9 W WiFi Only: 0.7 W Bluetooth Only: 0.7 W |
Baseline (Blink): 544 Hours Low Normal: 544 Hours Low Low (Sleep): 725 Hours Medium (LED Display): 136 Hours Medium Plus (WiFi and LED Display): 114 Hours High (WiFi, LED Display, Floating points maths): 310 Hours WiFi Only: 291 Hours Bluetooth Only: 310 Hours |
|
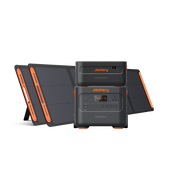
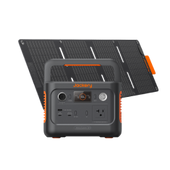
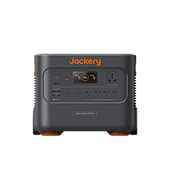
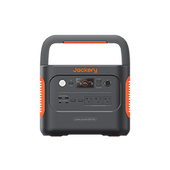
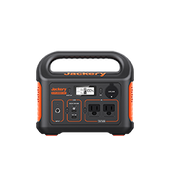
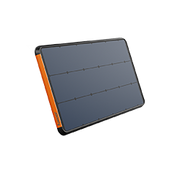
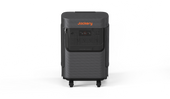
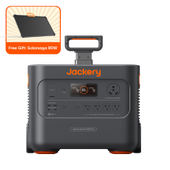
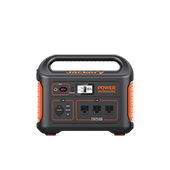
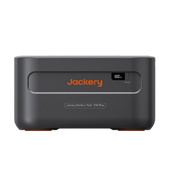
Jackery Solar Generator 300 Plus |
288Wh |
AC Output (x1): 120V, 60Hz, 300W (600W Peak) USB-A Output (x1): 15W Max 5V⎓3A USB-C Output (x1): 15W Max 5V⎓3A USB-C Output (x2): 100W Max, 5V⎓3A (5V, 9V, 12V, 15V, 20V up to 5A) Car Port (x1): 12V⎓10A |
Baseline (Blink): 0.4 W Low Normal: 0.4 W Low Low (Sleep): 0.3 W Medium (LED Display): 1.6 W Medium Plus (WiFi and LED Display): 1.9 W High (WiFi, LED Display, Floating points maths): 1.9 W WiFi Only: 0.7 W Bluetooth Only: 0.7 W |
Baseline (Blink): 612 Hours Low Normal: 612 Hours Low Low (Sleep): 816 Hours Medium (LED Display): 153 Hours Medium Plus (WiFi and LED Display): 128 Hours High (WiFi, LED Display, Floating points maths): 128 Hours WiFi Only: 349 Hours Bluetooth Only: 349 Hours |
|
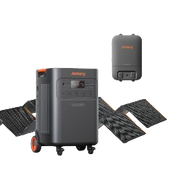
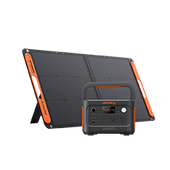
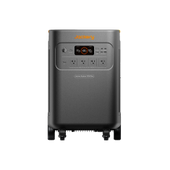
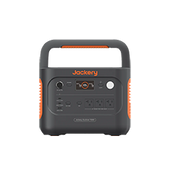
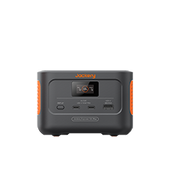
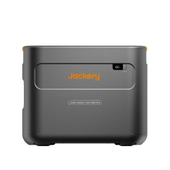
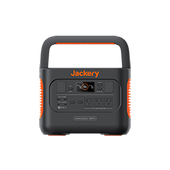
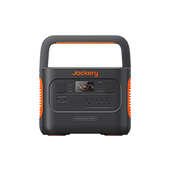
Jackery Solar Generator 600 Plus |
632Wh |
AC Output (x2): 120V~ 60Hz, 6.67A USB-A Output (x1): 18W Max, 5-6V⎓3A, 6-9V⎓2A, 9-12V⎓1.5A Car Port (x1): 12V⎓10A Max USB-C1 Output: 30W Max, 5V⎓3A, 9V⎓3A, 12V⎓2.5A, 15V⎓2A, 20V⎓1.5A USB-C2 Output: 100W Max, 5V⎓3A, 9V⎓3A, 12V⎓3A, 15V⎓3A, 20V⎓5A |
Baseline (Blink): 0.4 W Low Normal: 0.4 W Low Low (Sleep): 0.3 W Medium (LED Display): 1.6 W Medium Plus (WiFi and LED Display): 1.9 W High (WiFi, LED Display, Floating points maths): 1.9 W WiFi Only: 0.7 W Bluetooth Only: 0.7 W |
Baseline (Blink): 1343 Hours Low Normal: 1343 Hours Low Low (Sleep): 1790 Hours Medium (LED Display): 335 Hours Medium Plus (WiFi and LED Display): 282 Hours High (WiFi, LED Display, Floating points maths): 282 Hours WiFi Only: 767 Hours Bluetooth Only: 767 Hours |
Solar Powered Arduino FAQs
Now that you know the power consumption and other details about solar-powered Arduino, here are a few frequently asked questions.
What size of solar generator do I need to power an Arduino?
In short, the right size of solar generator for Arduino will depend on various factors, like the size, style, type, and power needs. Here is how to calculate the size of the solar generator required for an Arduino.
Suppose you want to charge an Arduino that consumes 0.4 watts of power using Jackery Solar Generator 300 Plus.
Working time = Capacity Wh * 0.85 / operating wattage of your device = 288 Wh * 0.85 / 0.4 W = 612 Hours.
Note: This is a rough calculation to help you determine the product's power consumption and working hours. If you are still unsure which Jackery model will suit the power needs of your Arduino, feel free to consult Jackery experts.
Can I connect the solar cells directly to the Arduino?
Connecting the solar cells directly to Arduino is not a great idea for several reasons. Solar cells depend on sunlight to produce power, so they may not provide a steady power stream. That's why the electrical device might not be able to work efficiently. The best way to charge an Arduino or any other appliance is by using a solar generator.
How to reduce Arduino power consumption?
Some of the best ways to reduce power consumption are using a small microcontroller, reducing clock speed, using the Arduino low power mode, and reducing the operation voltage.
Final Thoughts
If you want to harness solar energy to charge home or outdoor devices during camping trips, consider investing in solar generators. Besides powering your Arduino, it can help you power other appliances like refrigerators, coolers, electrical grills, electric blankets, or anything you name it.
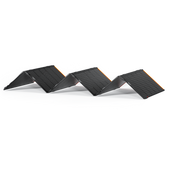
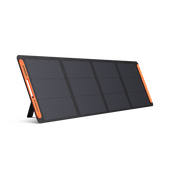
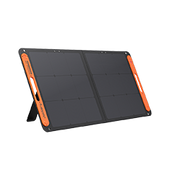
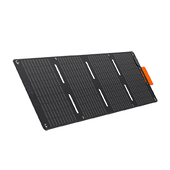
Solar generators are more powerful and feature multiple output ports; hence, they are preferred more than solar-powered Arduino. Jackery Solar Generator 240 v2, Jackery Solar Generator 300 Plus, and Jackery Solar Generator 600 Plus are the most efficient power solutions for low-power-consuming devices like Arduino.
Subscribe to the Jackery newsletter to get all the exciting news about products, promotional offers, or deals.


Leave a comment