If you are looking for what's the best use case for a school bus from your childhood, it's converting the school bus into an RV home. Typically referred to as skoolie, many adventure-goers have turned their school bus into an entirely new housing option. Many people love building tiny homes to downsize living space and embrace a minimalist lifestyle.
If you're interested in skoolie living, then you're in the right place. We will walk you through the step-by-step school bus conversion process, cost, and more. Once you've built your skoolie, you may consider investing in Jackery Solar Generators. These portable and powerful solar systems can safely charge the most essential electronics in a school bus or outdoor camping.
What is Skoolie?
A skoolie is a school bus converted into an RV-type living space. It generally looks more like a tiny house built inside the bus while still maintaining the bus look on the outside. There are many reasons why you would want to convert a school bus into a home, such as:
Save Money: Converting a school bus into a camper is much cheaper than buying an RV or traditional home.
Customizable Living Space: You can customize the school bus to meet your specific needs and wants. For example, you can add a kitchen, living room, storage space, and bathroom.
Sustainable Living: A skoolie is a more sustainable way to live compared to a traditional home. It is smaller than homes, meaning it will require less energy to heat and cool.
If you're still confused, here are the pros and cons of a school bus conversion.
Pros
- Like class A RV, they don't require another vehicle to tow them.
- You can creatively renovate the entire space.
- School buses are readily available.
- They are cheaper than similar-sized RVs.
- They are mobile and self-sufficient.
Cons
- DIYing a skoolie renovation requires a lot of hard work.
- It requires significant demolition.
- It is not accepted at many RV parks.
How Much Does It Cost for A School Bus Conversion?
The school bus camper conversion is different for everyone since there are multiple factors that need to be taken into consideration. The typical cost of school bus conversion can vary between $10,000 and $70,000 — depending on size, customization level, bus condition, materials, technical upgrades, and safety measures.
Material Cost
The materials required to convert a school bus into a tiny home will depend on their time. For example, if you are on a tight budget, you may opt for vinyl flooring over tile. The typical flooring costs between $2.75 and $6.80 per sq. feet. The finishing materials range between $300 and $1000.
Electrical & Plumbing Costs
The costs can vary widely from one house to another. For example, some people prefer composting toilets, which reduces the overall cost. If the converted school bus will be mostly stationary, you can hook it up to a sewer connection or permanent system.
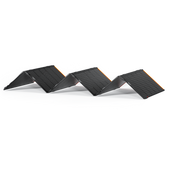
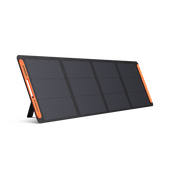
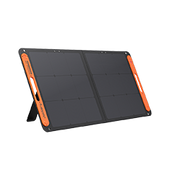
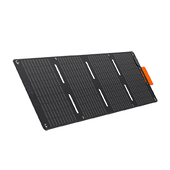
If you want to charge electrical appliances in your skoolie, consider investing in a Jackery Solar Generator. For example, the powerful Jackery Solar Generator 3000 Pro and Jackery Solar Generator 2000 Plus can charge 99% of your appliances in skoolie and can be recharged with foldable Jackery SolarSaga Solar Panels.
Kitchen
You'll need 12 V kitchen appliances for your skoolie. You can opt for a 12 V chest fridge, stovetop, skin and faucet, countertops, and cabinets. These generally cost between $600 and $3000.
Here's a table revealing the school bus conversion cost breakdown.
|
Breakdown |
Cost |
|
Used Bus |
$3000 - $10,000 |
|
Flooring |
$2.75 and $6.80 per sq. feet |
|
Insulation |
$0.50 and $3.65 per sq. feet |
|
Interior Walls |
$300 - $1000 |
|
Electrical & Plumbing |
$1500 - $5000 |
|
Kitchen |
$600 - $3000 |
|
Total |
$10,000 - $70,000 |
How to Convert A School Bus?
If you've decided to convert a school bus, here are 10 steps you'll need to follow:

Step 1: Choose The Proper School Bus
The first step is to choose the proper school bus that you would like to renovate.
Let's briefly explain the common school bus types available:
Type-A: This is the smallest bus type, 20-25 feet long, and features two entrances on both sides of the bus located just behind the front wheels.
Type-B: It is 25-30 feet long and generally shaped like a traditional dog-nose school bus. It's ideal for a single individual who travels often.
Type-C: This traditional school bus is 35-45 feet long and has a dog-nose front. The doors are located behind the front wheels, which leads to less square footage.
Type-D: These long, flat-nose school buses offer excellent visibility while driving. The bus's door is ahead of the wheels to provide more usable square footage.
When deciding which school bus RV conversion type, you'll need to consider how much space you need and how comfortable you are when driving a large vehicle. One more thing to consider is the school bus engine. Some buses have engines in the front, whereas others might have them in the rear side. The school buses that are 35-40 feet long generally have large rear engines.
Step 2: Where to Find or Buy School Bus
From local school districts to social media platforms, there are many places where you can find school buses. There are some websites, such as skoolielivin.com, that can focus 100% on this kind of thing.
Facebook Marketplace: The Facebook Marketplace is one of the best places where you can find a partially converted bus. You can take on someone else's partially done projects, reducing the overall workload.
Local School Districts: Local school districts can provide well-cared-for machines. The rigid maintenance requirements help you find the best tires, transmission, engine, and other mechanical parts that are constantly monitored.
Other places to look for school buses include online classified sites, new school bus dealers, and used school bus dealers.
You'll have two options when doing school bus conversion: buy it or tear it up. You can find school buses for somewhere between $3000 and $6000. It's usually much cheaper than a used RV. When buying a school bus, it is essential to purchase a bus with minimal to no rusting.
If you've purchased a used school bus, the next step is to tear it up. Ripping components will help you see damages that you'll need to address before designing or installing anything. The basic items you need to remove are the crossing arm, tape, stop sign, etc.
Here are the essential components you'll deal with:
- Seats
- Wiring
- Walls
- Floors
- Ceilings
- Heating Systems
Step 3: What to Consider Before Conversion
When doing a school bus conversion project, it is essential to ask a few related questions, including:
- How many things do you need in the skoolie?
- How much space is required to be comfortable?
- Do you need a workplace every day?
- How much kitchen space do you need?
- Do you work out daily?
- Do you have pets, partners, and traveling pals?
- What do you need for entertainment?
- How much space do you need on the rooftop?
Step 4: Pick A Conversion Floor Plan
By now, you'll probably have an idea of what your new home on wheels will look like. However, before you lay down subfloors or install walls and ceilings, it is essential to figure out the floor plan.
Traditional Skoolie Floor Plan
The standard floor plan has a bedroom in the back, a combined kitchen and living area in the front, and a bathroom in the middle. You can also build a workstation or bathroom in the back. Underneath the kitchen counter, drawers and cabinets would be for extra storage.

Off-Center Skoolie Floor Plan
It's one of the popular floor plans for skoolies. Instead of having a straight aisle down the bus center, the walkway or aisle is on the right or left side of the bus. When designing an off-center skoolie conversion, you'll need to distribute the weight accurately.

Skoolie Floor Plan with Bunk Beds
If you're planning on traveling with kids, the best method is to build bunk beds into the house. It will save you floor space and create a quiet place for kids to have on their own. Even if you are traveling with other adults, bunk beds are a great way to save space.

Step 5: Prepare for Remodeling
Next, it's time to start the demolition process. You can start remodeling by removing items such as stop signs, crossing arms, school bus working and decals, and reflective tape. Once done, remove the seats, walls, ceiling, and floor from the interior. The goal of this step is to expose what is underneath everything so you know what needs to be fixed.
If you find any rust after demolition, you can put a wire wheel on the cordless drill and brush it off. If the wire wheel is not enough, paint the rush with the rust converter followed by rust-inhibiting paint. Remember, the more rust you find, the more work it will be before you start building the home.
Step 6: Design Interior Space
It's time to prepare the skoolie for remodeling. Here are a few tips for designing the interior space:
Walls: You may use wood or breadboard to create a rustic and cozy living space. If you plan to spend most of your time in skoolie, consider installing insulation between the frame and interior paneling. This will help you regulate the interior temperature and reduce noise.
Floors: Next, choose durable and easy-to-clean flooring materials, such as vinyl planks or laminate, that are suitable for mobile environments. You can also consider installing radiant floor heating, rugs, or carpet tiles to warm the space.
Ceiling: You can create a visually appealing ceiling with the help of fabric coverings, wood paneling, and tin tiles. Don't forget to install recessed LED lighting or pendant fixtures for illumination. Ceiling fans and vents can help you improve comfort and circulation.
Entrance Stairwell: The entrance stairwell can have storage compartments or seating benches to maximize space efficiency. You can even install a folding and sliding door to converse space for additional security and privacy.
Doors: You can opt for doors with built-in blinds or shades for adjustable light control and privacy.
Windows: If the installed windows are draughty and loose, consider replacing them with larger ones for a panoramic view. You can even upgrade the windows with double-pane and insulated glass for improved energy efficiency and temperature control.
Interior Storage Arrangement: You must focus on conversing space in your customized skoolie. You can use multifunctional furniture with built-in storage systems, like convertible sofas or beds with drawers.
Step 7: Design Exterior Space
Modifying the exterior space of your skoolie is inevitable. The primary goal is to ensure your vehicle does not look like a "school bus" anymore.
Painting the Roof & Appearance: Consider using an elastomeric silicone-based paint to reduce heat conduction and improve reflection from the roof. You can also paint the exterior of the bus to completely transform your skoolie's visual look.
Exchange Roof Emergency Exit: If you are buying an old school bus, it's best to remove the old school bus emergency exit hatches and build roof skylights. You can use polycarbonate as your glass to ensure the motorhome remains protected from hail.
Installing Shoulder Skylights: These skylights have a unique structure. They curve with the roofline transition from the exterior wall to the roof. This is one of the best ways to enjoy scenic sky views with more lights in the living area and kitchen.
Create Underbody Storage: You can insulate the walls and floors to build the underbody storage. The storage systems will help you store gardening tools, water filtration, a gray tank, pumps, and a portable bonfire pit.
Flood Lights: When boondocking, exterior flood lights will help you illuminate the immediate vicinity. They are helpful for security when it's dark out or you want to work on the bus at night.
Step 8: Skoolie Water System
Your skoolie is incomplete without a plumbing system. The planning should ensure that every connection is easily accessible for inspection while on the road.
Fresh Water Tank: You need fresh potable water to carry 100 gallons. The weight of the water (8.25 lbs/gallon at sea level) must be considered. Lowering the center of gravity will help you drive the skoolie more smoothly and reduce the chances of accidental falls.
Gray Water: The water from the kitchen sink, shower, and bathroom sink pours down the drain and goes directly to the gray water tank. You must check the local laws to properly drain the gray water without polluting anything. Installing a gray water tank in an insulated storage area has many benefits. For example, installing a living space in the skoolie will offer more space for adventures.
Hot Water: You need hot water for showers and washing dishes. There are three common ways to obtain hot water in skoolie: solar hot water heaters, tank water heaters, and on-demand water heaters. The solar hot water heater heats the water in tubes on the vehicle's roof and then piped down into the plumbing system. Tank water heaters need electricity or propane to work and have 5-10 gallons. On-demand water heaters heat water only when they sense water movement in the line.
Toilet: Often, the toilets are connected to the plumbing system, where fresh water is supplied and then flushed into a sewer system (or black tank). There are other options available, such as cassette toilets and composting toilets. Compared to other options, composting toilets are growing in popularity, in which you basically poop in a bucket and then top it with wood shavings or coconut husks.
Step 9: Skoolie Electricity System
Your school bus camper conversion is incomplete without a skoolie electricity system. You need to build an off-the-grid electricity system that's safe, simple, reliable, and intuitive. This will help you charge kitchen appliances like microwaves, coffee makers, refrigerators, etc. Additionally, you can supply steady power to RV AC and space heaters to cool or heat the space.
There are multiple ways to supply electricity to the RV appliances, including:
Solar Panels: Some people prefer installing solar panels on the rooftop of skoolie to convert solar energy into electricity and charge appliances. While it's a good choice, you might find it hard to generate electricity during cloudy weather and night.
Wind Power: When parked, you can install a wind turbine to convert wind energy into usable electricity and then charge skoolie appliances.
Solar Generator: Solar generator systems are one of the best options for getting electricity in your skoolie. They combine portable power stations and solar panels. Solar panels convert the free sunlight into DC electricity and store energy in portable power stations.
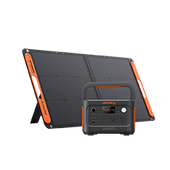
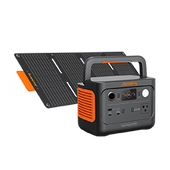
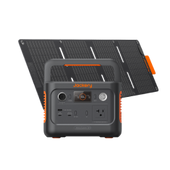
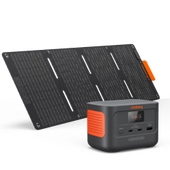
Jackery Solar Generators are available in multiple sizes and capacities. The large battery capacity of the Jackery Solar Generators helps you charge 99% of appliances, including refrigerators, ACs, lights, and more. They are easy to set up and do not require any professional assistance.
Propane or Gas: Propane is one option for supplying steady power to appliances such as refrigerators, stoves, ovens, BBQ grills outside, furnaces, and hot water heaters. However, you'll need to contact professionals to install a propane generator in your space.
Step 10: Final Touch
Finally, you can customize the space to make it your own. For example, add furniture like sofas, bunk beds for kids, kitchen stoves, freezers, refrigerators, and scattered lights for illumination.
Remember, there's no license for skoolie drivers, but you can check local laws to see if you need a special permit, such as a motorhome license. The registration process for skoolie will vary depending on where you live. Don't forget to sign up for skoolie insurance as well. Often, insurance companies insure a skoolie as a pre-converted motorhome.
Jackery Solar Generators for Skoolies
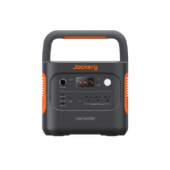
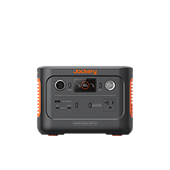
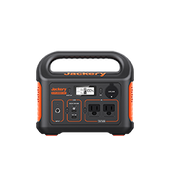
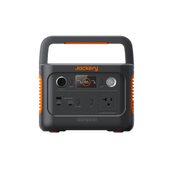
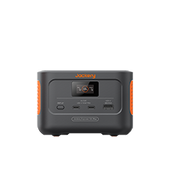
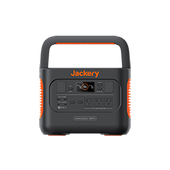
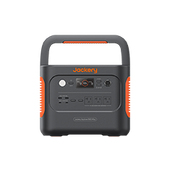
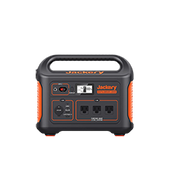
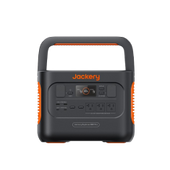
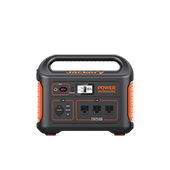
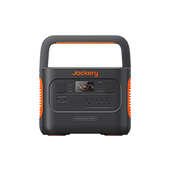
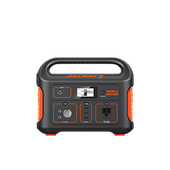
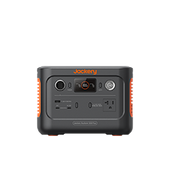
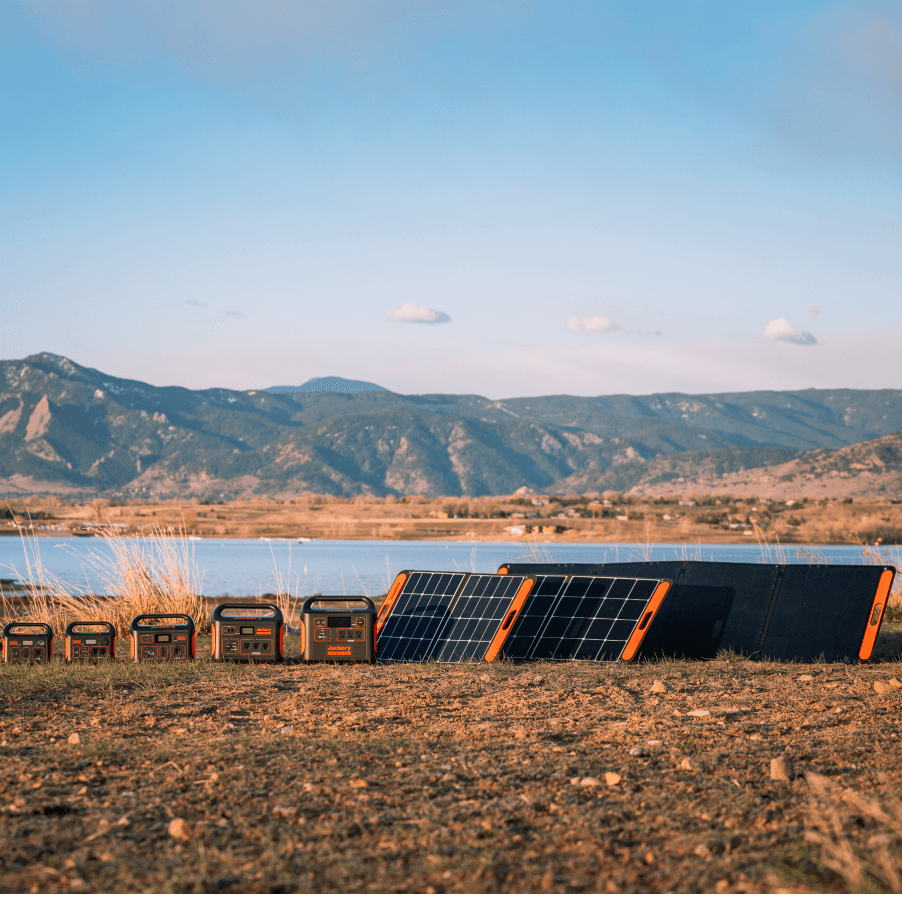
Jackery is a well-known manufacturer of solar generators, solar panels, and portable power stations. These green and renewable power solutions are excellent choices for outdoor exploration during RVing, van life, etc. The large-capacity solar generators feature double wheels and foldable handles, making them portable and lightweight solutions for outdoor use.
With the Jackery Portable Power Stations, you can charge most everyday van appliances, such as refrigerators, ACs, coffee makers, etc. These portable power stations can be recharged with free and clean energy generated by the Jackery SolarSaga Solar Panels. These solar generators emit less than 30 dB of noise and can be used even when sleeping.
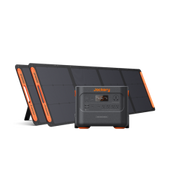
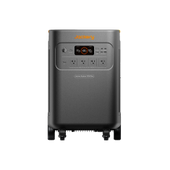
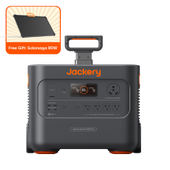
Jackery Solar Generator 3000 Pro
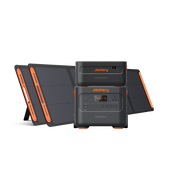
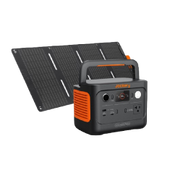
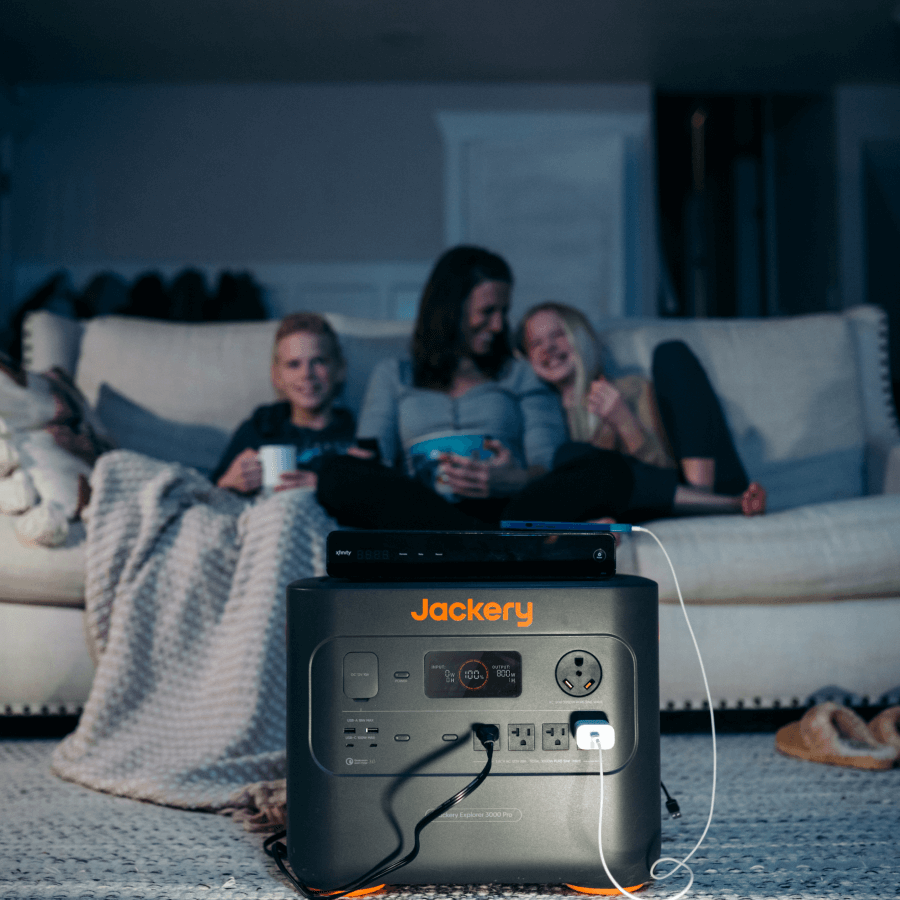
The Jackery Solar Generator 3000 Pro features a large battery capacity to charge 99% of essential skoolie appliances. The pull rods, double wheels, and sturdy handle ensure easy movement in and out of the skoolie. The portable power station can charge large refrigerators, TVs, lights, microwaves, electric grills, etc. It does not emit toxic fumes or noise when charging the appliances.

Here are the working hours of the Jackery Solar Generator 3000 Pro:
- 12 V Refrigerator (100 W): 25.7 H
- Laptop (150 W): 17.2 H
- Camera (9 W): 285.6 H
- Coffee Maker (1000 W): 2.5 H
- Projector (100 W): 25.7 H
- Portable AC (1000 W): 2.5 H
Customer Review
"It is so easy to set up and easy to transport and charge when stopped or driving. It powered our portable fridge/freezer, allowing us to prepare meals for the first 3 weeks of the trip." — James.
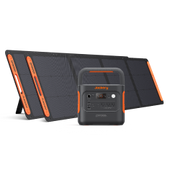
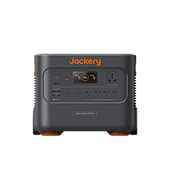
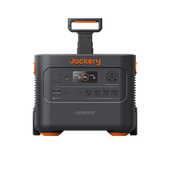
Jackery Solar Generator 2000 Plus
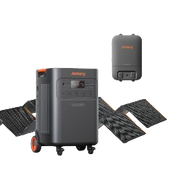
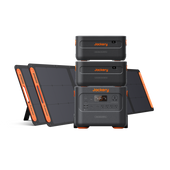
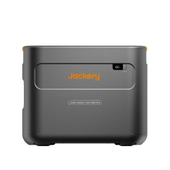
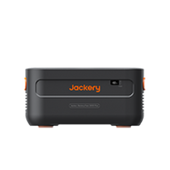
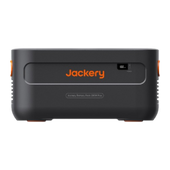
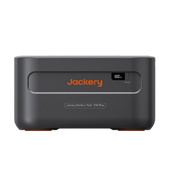
The versatile Jackery Solar Generator 2000 Plus can charge 99% of van life or skoolie appliances. The outstanding LiFePO4 battery has a 10-year lifespan. By connecting an additional Jackery Battery Pack 2000 Plus, you can expand the battery capacity from 2 kWh to 24 kWh. The high output power ensures essential appliances like refrigerators, lights, and CPAP machines remain functional.

Here are the working hours of the Jackery Solar Generator 2000 Plus:
- 12 V Refrigerator (100 W): 17.3 H
- Laptop (150 W): 12.2 H
- Camera (9 W): 192 H
- Coffee Maker (1000 W): 1.7 H
- Projector (100 W): 17.3 H
- Portable AC (1000 W): 1.7 H
Customer Review
“I purchased this for my camping needs when power is unavailable at campsites for use with my Class A, Pop-up, and truck camping. To date, I have only used it with my Class A, which has an onboard gas generator (which is not usable during quiet hours at parks). In conjunction with running appliances on propane, the 2000 Plus powered me through the night with heat and general lighting with power to spare the following morning.” — Chris K.
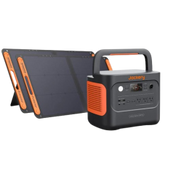
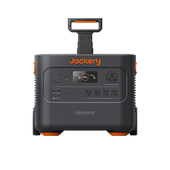
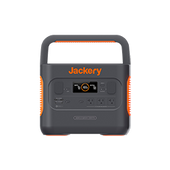
Jackery Solar Generator 2000 Pro
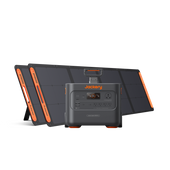
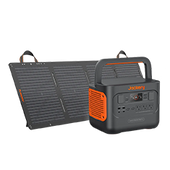
The Jackery Solar Generator 2000 Pro is a great midsize charging solution ideal for charging 96% of appliances. The compact and lightweight portable power station features an NMC battery and offers all-around safety with advanced BMS technology. It is also equipped with heat dissipation and a high-temperature protection mechanism to make the power station more durable.

Here are the working hours of the Jackery Solar Generator 2000 Pro:
- 12 V Refrigerator (100 W): 18.3 H
- Laptop (150 W): 12.2 H
- Camera (9 W): 204 H
- Coffee Maker (1000 W): 1.8 H
- Projector (100 W): 18.3 H
- Portable AC (1000 W): 1.8 H
Customer Review
“Well-made unit, easy to set up and use, very efficient. The SG2000 Pro is able to take care of all my off-grid power needs. The quality is outstanding.” — Mark Stewart.
School Bus Conversion Ideas
If you are designing your skoolie, here is the list of top school bus camper conversion ideas to inspire you to build a customized camper.
Cozy School Bus House
The school bus tiny house is built with a light and bright ceiling, block counterparts, dark cabinets, and gray couch cushions. You can also make a table out of the pallet wood.

Modern School Bus Conversion
The modern school bus house has a desk area and a cubic mini wood stove beside the kitchen. An RV furnace can be placed next to the desk area to make the place cozy in winter.

Bright & Light Skoolie Bus Conversion
An open kitchen with underneath cabinets but no upper cabinets offers plenty of storage space. You can use a propane heater as a heat source or a combination of a wood stove and an RV furnace.

School Bus Conversion FAQs
What size solar generator do I need for my skoolie?
The size of the solar generator for skoolie will depend on the total number of appliances you charge and how long. Let's assume you are powering a 12 V refrigerator (100 W), laptop (150 W), camera (9 W), coffee maker (1000 W), and projector (100 W) with the Jackery Solar Generator 3000 Pro.
Working Hours = Battery Capacity in Wh * 0.85 / Operating Wattage of Appliances = 3024 Wh * 0.85 / 1359 W = 1.8 H.
Note: There will be some power loss when charging the appliances, so we have multiplied the battery capacity by 0.85.
Is it cheaper to convert a bus or buy an RV?
Converting a school bus into an RV is much cheaper than buying a new RV. This is because used school buses are available at a low price and can help you save money.
Does a school bus make a good RV?
Yes, a converted school bus can be fitted with kitchen appliances similar to a typical RV. Additionally, they have a plumbing system and a typical living room with TVs and other electronics.
How long do bus engines last?
Diesel bus engines are designed for medium-duty usage and are built to last 15-20 years or more.
Are bus conversions safer than RVs?
Yes, school buses are safer and more durable than RVs. RVs are designed to be used for only a few months out of the year, and they generally begin to deteriorate soon with prolonged use.
Is School Bus Conversion Worth It?
There is no doubt that converting a school bus into a tiny home can be an exciting endeavor. The space in the bus is large compared to vans or Class-C RVs. You can convert a bus within your budget with the above step-by-step school bus conversion guide. Jackery Solar Generators can be your charging solution when living in an RV, van, or school bus. They are portable and compact solar generators designed to charge essential van life appliances for a relatively long time.
























Leave a comment