


School bus conversion is a creative, affordable, and safe way to adopt a minimalistic lifestyle. You can DIY convert a school bus into an RV. The process starts with ripping the bus components, sealing and securing any trouble areas, and re-installing the flooring, rooftop, and walls. It’s followed up by painting the exterior and installing the plumbing system and electricity across the van.
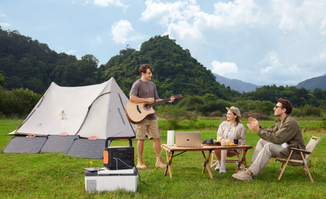
Many people install solar panels to power their appliances regardless of location. Although effective, these are costly, so alternatively, you can invest in portable and efficient solar generators. Jackery Solar Generators are one of the best available that can power up 99% of your RV appliances for hours without any issues.
Key Takeaways
- School bus conversion is a considerable RV alternative as it offers plenty of customization options, has more space, is safe, and saves money.
- Before transforming the school bus, decide where to carry it out and dispose of the torn-off components, consider your budget and purpose of living, and select the bus size accordingly. Also, check for engine condition, fluids, tire condition, and rust before purchasing a bus.
- The cost of converting a school bus should be between $11,000 and $80,000, excluding the cost of the bus, which adds around $4,000-$10,000.
- Before preparing to convert the bus, understand that school buses are much safer than RVs, and you’re allowed to drive with a normal driver’s license. Besides, the exterior and interior conditions must be checked to determine the work required.
Why Choose a School Bus
A school bus conversion, also known as a skoolie, is the transformation of a school bus into a recreational vehicle (RV). Individuals or specialized companies typically carry out these conversions, repurposing the bus’s interior into a comfortable living space containing amenities such as kitchens, bedrooms, living areas, and bathrooms. The resulting skoolie can be used for camping, traveling, or as a full-fledged living space.
There are several reasons as to why you would want to convert a school bus into an RV, such as:
- Customization Options: Built-in RV features might let you transition into a nomadic life with little effort, but they don’t always align with your needs and preferences. You can choose the layout, amenities, and furnishing for an ideal lifestyle when you opt for school bus conversions.
- More Available Space: RV interiors are sectioned off to meet basic needs rather than providing a comfortable stay. But if you want otherwise, a school bus offers a pretty much open space, so you can design it accordingly.
- Safer and Durable: School buses are built with safety measures to protect their passengers during a collision and can be driven for miles at a time. Buses are reliable for daily travel, even in adverse road and weather conditions, making them significantly safer.
- Save Money: Although small RVs are much cheaper than buying a bus and paying for its conversion, considering the features you get at this price and the fact that you live there full-time, a bus conversion is a much more cost-efficient option.
In short, although DIYing a school bus conversion requires several days of hard work, the results can be gratifying.
Know The School Bus First
If you are convinced about converting a school bus but don’t know where to start, understand that it happens to all. Having basic information is half of your battle fought when making an informed decision, so let’s start with things to consider before buying a bus:
- Where you plan to demo the bus and dispose of the floor, sheet metal, and seats you tear out.
- Consider where you plan to renovate and whether your city or HOA allows you to park and work on a bus in your property or driveway.
- There are ways to finance the conversion. Depending on your budget, decide on the plans and how quickly you want to proceed with the build. These typically cost upward of $20,000.
- How you’ll complete the project, i.e., whether you have the right skills and tools for converting a school bus yourself or if you’re looking to hire a professional.
- Finally, the purpose of your build, whether you want to stay full-time or travel part-time. And how you plan to earn if you make it a full-time residence.
That said, depending on the purpose of conversion, you’ll decide on the size of your school bus. The three primary types of size include short, medium, and full-sized/coach buses. Here’s a detailed overview:
Short Buses (20-25ft)
Short buses are a great option for several reasons: one, they’re more maneuverable than some lengthier skoolies, are easy to drive, and fit nicely into most parking spots. These are suitable for one to two people and those who want to access harder-to-reach boondocking spots. But, with this, you have to compromise on the living space and what you build.
Medium-Sized Buses (25-30ft)
These are a happy medium between small and full-sized buses, with plenty of interior room and the same features as a full-sized bus, including wheel size, engine, and style. It accommodates a family of two, children, and even a pet if you aren’t concerned much about the space. Also, it’s easier to maneuver than a full-sized bus but might not fit into one parking space.
Full-Sized Buses (35ft+)
If you are a family of three people with a child and a pet, consider converting these buses into mobile living spaces. As expected, there are a lot of customizations you can do, and you still have a bit of space left. However, maneuverability and parking can get tricky with such sizes.
Even if you decide on the size, there’s still a job. There are a few things you must take a close look into prior to exchanging your cash with the bus:
Engine Condition: Prior to the bus purchase, take at least 30 minutes to one hour of test drive. Pay attention to how smoothly it changes gear, RPMs, and whether there’s any irregular noise or sounds (like clicking, squealing, knocking, buzzing, or grinding) with the engine.
Most school buses use diesel engines, although some use alternative fuels like CNG (Compressed Natural Gas), LNG (Liquefied Natural Gas), or hybrid electric systems. If the engine is diesel-run, inspect the oil. Look closely at the oil level, condition, color, and smell. The oil should be dark in color with a small amount of diesel. Other than that, ensure no metal flakes or particles are inside.
Tire Condition: If purchasing a relatively old bus, ensure its tires don’t exhibit any cracks due to age and weathering. Then, check the four-number DOT date stamp on it, whose first two numbers represent the week of a tire and the last two represent the year it was manufactured. For example, a tire with an imprinted 4518 was made in the 45th week of 2018. If the tires are six years or older, replace them, regardless of their condition.
Check for Rust: An old school bus is vulnerable to rust on the underside and outside. It’s standard with buses, but the metal becomes flaky if the rust becomes pitted, which is a big NO.
Considering the aforementioned tips, you should be able to find a bus that can potentially become your everyday companion.
School Bus Conversion Costs
The average cost of converting a school bus depends on several factors: bus size, amenities, features, and others. However, you can consider the cost to be in the range of $11,000-$80,000. It doesn’t include the cost of your school bus, which further adds around $4,000-10,000. Besides, hiring a professional to do plumbing, welding, electricity, and others significantly inflates your final bill, while recycling items and materials can cut down your overall costs.
Here’s a breakdown of school bus conversion costs:
|
Items |
Cost |
|
School Bus |
$4000-$10,000 |
|
Building Materials |
$3,000-$7000 |
|
Exterior Paint |
$1,000-$3,000 |
|
Electrical |
$1,000-$3,000 |
|
Refrigerator |
$200-$1,200 |
|
Heating Systems |
$400-$2,000 |
|
Insulation |
$0.50 and $3.65 per sq. feet |
|
Flooring |
$2.75 and $6.80 per sq. feet |
|
Interior walls |
$300-$1,000 |
|
Plumbing |
$500-$2,000 |
|
Kitchen |
$600-$3000 |
|
Total |
$15,000-$70,000 |
An RV costs $30,000-$100,000 on average, which, considering the cost you incur in converting a school bus, is much higher. It can get cheap if you opt for an old RV, but you’ll have to live with not everything you wanted from your full-time residence. It’s a smart decision to convert a school bus rather than purchasing a new RV.
Preparations for School Bus Conversion
Before preparing to convert the bus, there are many questions to answer, and one of them is whether they are safer than RVs. Understand that school buses are made out of galvanized steel and molded steel hat channels, with another layer of galvanized steel on top to create double-thick steel walls and ceilings, making them much safer than RVs.
Inside it, you’re safe from wild animals, it is difficult to break in, and even in the event of an accident or collision, you are much safer inside a school bus than in an RV.
Many ponder if you can drive it with a regular license or not. It’s best to revert to your state’s DMV in such a situation. In most states, once buses are transformed into motorhomes, they are allowed to drive with a regular driver’s license unless your state’s DMV requires an endorsement for RVs.
Inspect the bus's interior, exterior, and underneath for mold, rust, wet spots, etc. If you see linoleum lifting or peeling, it might indicate leak issues and mean the floor underneath is rusty or moldy. Both are fixable, but less is preferable.
Crawl underneath to check the grease points on your axles, drive shaft, and steering assembly. If no grease is coming out and is rather dry, it indicates premature wear in the area. This way, you can determine the amount of work the floor, roofs, and interior needs. Besides, ask the seller a few questions before starting the conversion:
- When was the vehicle last inspected and registered?
Purpose: If the vehicle meets safety standards and is legally allowed to be on the road.
- When was the oil last changed, filters, etc?
Purpose: Assess engine health and determine the likelihood of mechanical problems.
- Do you have any maintenance records?
Purpose: The thoroughness with which the vehicle has received care, potential recurring issues, and overall reliability.
- How long has the bus been stationary?
Purpose: Determines if the parts (tires, battery, engine, and others) have degraded over time.
How to Convert A School Bus
As you’re prepared, it’s time to convert your school bus into an RV, so follow the steps in order:
Demolition
Now that you brought the bus after much consideration, it’s time to tear it apart. Ripping the components (like seats, wiring, walls, ceilings, floors, and heating systems) lets you decode the damage that needs addressing before installing and designing. You’d need tools like a socket wrench, hammer, angle grinder, pry bar, and protective gear to carry out the demolition process.
You might need power tools and drills to remove the metal interior siding, ceiling, and seats, and a reliable battery backup means you won't have to depend on a power outlet. Jackery Solar Generators are one of the best in the market and can run your power tools for hours.
Sealing & securing
Now the bus is gutted, it’s time to prepare for remodeling. But before that, spot any trouble areas that need to be replaced or resealed to save yourself from trouble in the long run. Poke the rust spots on floors, ceilings, walls, and windows with your screwdriver to determine how problematic the spot is. If the screwdriver slides through, patch the hole with a new metal.
Also, clean the insides properly before proceeding with installations using a wire brush on your angle grinder or a drill. Jackery Solar Generators can be helpful in powering up your drill and other electric tools.
Floor
As the bus is cleaned and sealed off properly, it’s time to tackle the floor. Remove any older insulations before reinstalling the floor and ceiling. Unlike other insulation materials, a rigid foam insulation board is probably the best bet, as you can directly install a wooden floor atop it.
Run the insulation board perpendicular to the sides of a bus to fully cover the floor and glue it down with industrial-strength construction adhesive. Atop it, you can use sanded plywood, which, although a touch pricey, is the best option for your subfloor. Finally, the last layer, which could be carpet, vinyl, wood, or laminate, is put down.
Exterior painting
Timing the exterior painting is a bit tricky. You might want to wait until the rooftop installation, and then you have more things to tape off during painting. But choosing to paint now reduces your job when you make vents and holes for shore power, water intake, and fridge.
If you paint it now, apply industrial-grade automotive primer with a spray gun. This will make the primer solid and provide a good surface for exterior paint. Once the primer is dry, paint your skoolie the color of your choice.
Rooftop installation
It’s now the best time to put anything on the top. Start by deciding on its structure and creating a visually appealing ceiling using wood paneling, fabric coverings, and tin tiles. Make sure to install recessed LED lighting or pendant fixtures for illumination. Vents can also be made, or ceiling fans can be installed to add comfort and air circulation. You can speed up your installation process using power tools, and using Jackery Solar Generators to run them saves a lot on electric bills.
Insulation & wall construction
Once the initial framework is built, insulate the skoolie walls, primarily because the old insulation has weakened, and close down the leaks in the lower walls. Then, put up a total of six dividing walls, two on each side of the wheel walls and two on the opposite side. You can opt to keep it light, simple, and cheap by facing the walls with a beadboard. It looks great and is easy to keep clean.
Electrical
Your school bus conversion is incomplete without an electricity system, and you need to build an off-grid system that’s reliable, simple, safe, and intuitive. The system will help charge kitchen appliances like coffee makers, microwaves, and refrigerators, as well as heaters and coolers, making the space comfortable for living.
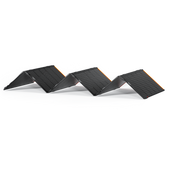
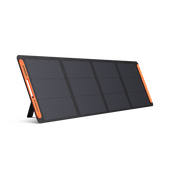
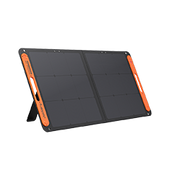
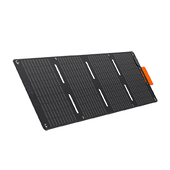
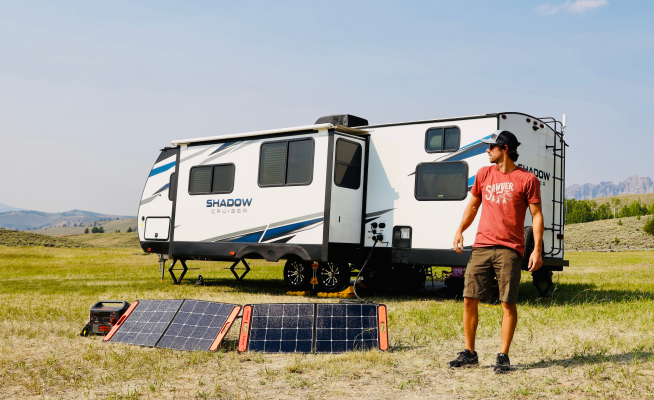
You can install solar panels on the rooftop, but these can be quite expensive. Better, you can invest in Jackery Solar Generators, which come in multiple sizes and capacities, don’t require installation, are more affordable than rooftop panels, and charge 99% of your appliances.
Plumbing
The final step is to install a plumbing system, which you must plan to ensure every connection is accessible for inspection while on the road. You’ll need up to a gallon of fresh water tank, so consider its weight when installing. The system also needs an outlet to pour the gray water from the shower, kitchen, and bathroom sink down the drain and a hot water inlet for washing dishes and showers.

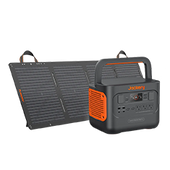
Jackery Solar Generators for Vans
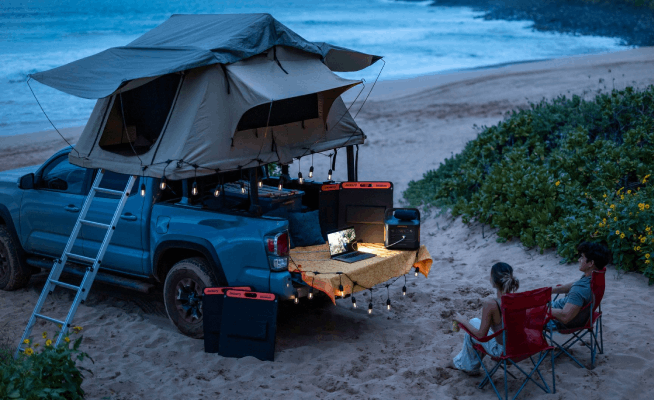
Solar Generators are an efficient choice for van life as they are portable, foldable, and lighter, so you can easily carry them anywhere outdoors. They are also fitted with safety features to ensure they don’t harm any of your appliances and can withstand temperatures between 14°F (-10°C) and 104°F (40°C), so it won’t be an issue whether you’re passing a mountain or a desert.
Jackery is a pioneer in manufacturing solar panels, solar generators, and portable power stations. The portability of its solar generators and panels enables adventurers to enjoy the outdoors sustainably while protecting the planet.
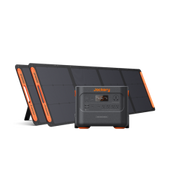
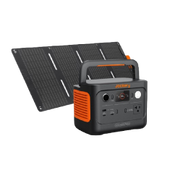
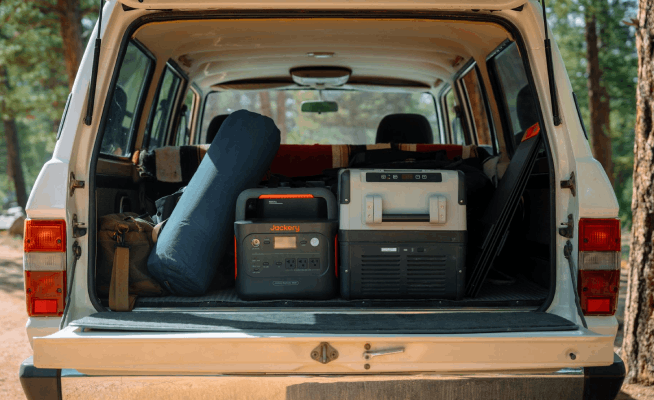
Jackery Solar Generators combine a Jackery Portable Power Station and Jackery SolarSaga Solar Panels. They operate cleanly and toxin-free without harming the environment. The Jackery Solar Generators collect, convert, store, and transmit electricity to power most of your residential and off-grid appliances. Their ergonomic design, paired with portability, helps you carry them around when moving.
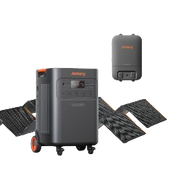
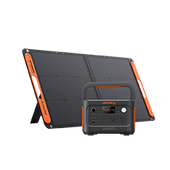
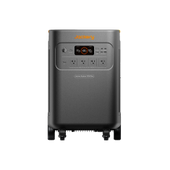
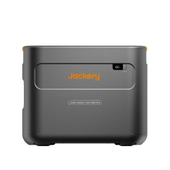
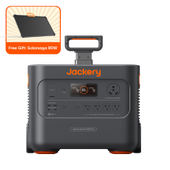
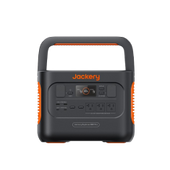
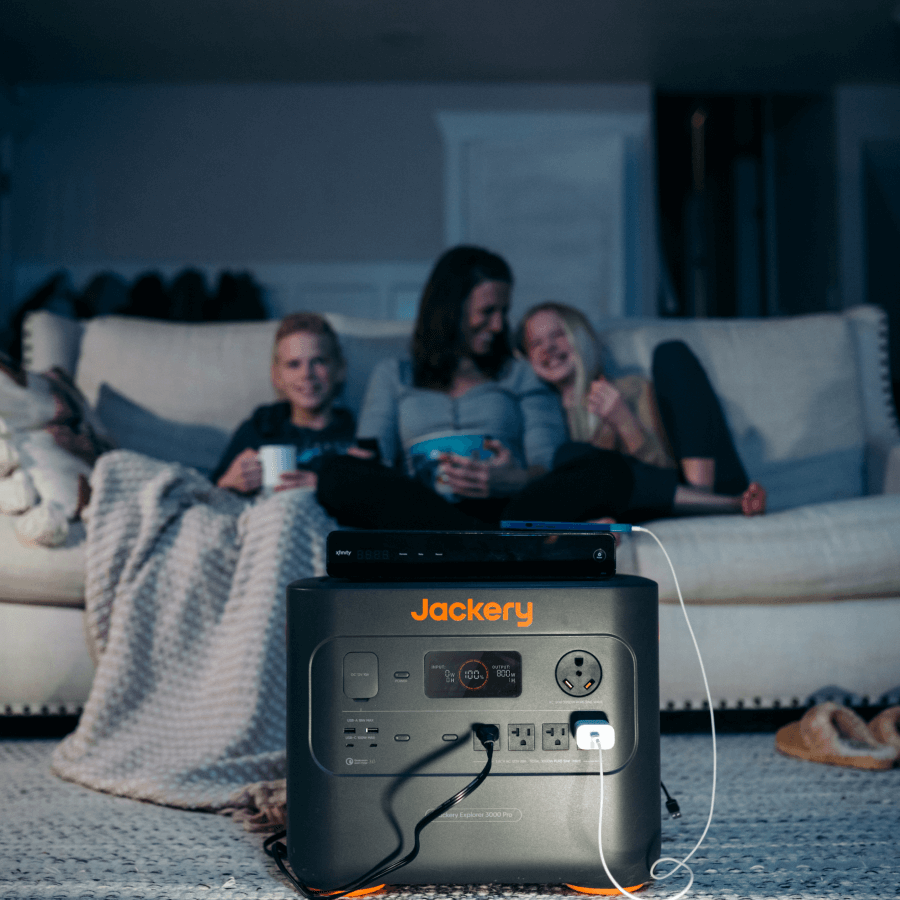
Jackery Solar Generator 3000 Pro
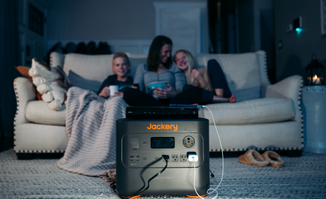
If you have a family of two or three people and a decent set of appliances to power, Jackery Solar Generator 3000 Pro is a great pick. Its large battery capacity can power up to 99% of your residential and outdoor appliances, including TVs, refrigerators, electric grills, microwaves, etc. Its double wheels, pull rods, and sturdy handle ensure easy movement in and out of the skoolie.
Appliance Running Hours:
- Laptop (150W): 17.2H
- 12 V Refrigerator (100W): 25.7H
- Coffee Maker (1000W): 2.5H
- Portable AC (1000W): 2.5H
- Camera (9W): 285.6H

Customer Review: “All I can say is it ran my refrigerator for 12 hours and only got down to 60%. That’s without solar panels. Also ran my PC (lots of social media videos), Xbox, and fan on another day, and it got down to 12%. Pretty impressed” - Rhys Adams.
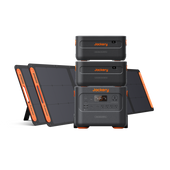
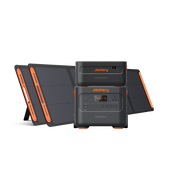
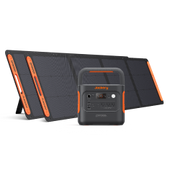
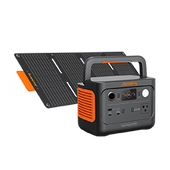
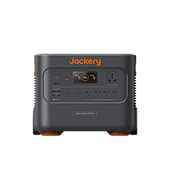
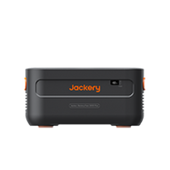
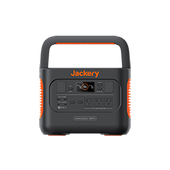
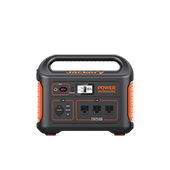
Jackery Solar Generator 2000 Plus
The Jackery Solar Generator 2000 Plus can also charge 99% of your RV appliances for hours, provided you’re using basic appliances like TVs, laptops, computers, etc. Once fully charged, it can power up to eight appliances at once. The best part is that it’s expandable, so you can increase its battery capacity to run heavy appliances like air conditioners if needed.
Appliance Running Hours:
- TV (300W): 5.7H
- Refrigerator (1000W): 1.7H
- Fan (60W): 28.9H
- Projector (100W): 17.3H
- Camera (9W): 192.0H

Customer Review: “Best investment for our business we do craft shows. We use the Jackery Explorer 2000 Plus with 2 Solar Saga 200w panels to power our XTool F1 portable laser air purifier laptop and lights on our canopy, and if the power goes out, I can power my CPAP machine no need to pay the vendor for electricity.”- Kevin J. Craig.
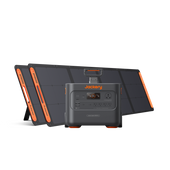
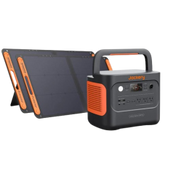
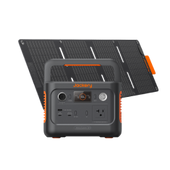
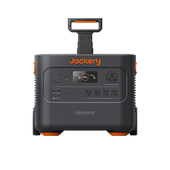
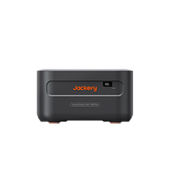
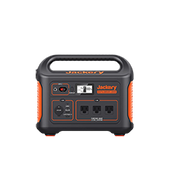
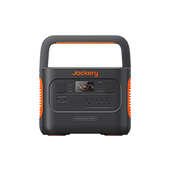
Jackery Solar Generator 1000 Plus
If you want a highly portable battery backup solution to power most of your essentials, consider investing in the Jackery Solar Generator 1000 Plus. Its 32 lbs weight, compact design, and ergonomic design make it easy to carry around on any outdoor journey, like camping, wildlife spotting, or just traveling. It can charge most of your RV and outdoor appliances like the previous models.
Appliance Running Hours:
- Car Fridge (60W): 17.9H
- Portable refrigerator (15W): 71.6H
- Projector (100W): 10.7H
- Camera (9W): 119.4H
- Fan (60W): 17.9H

Customer Review: “We've had the unit for a while now and absolutely love how rugged it is. The solar panels work great, and the peace of mind of knowing we have a battery backup for all our devices and some appliances is awesome.”- John Brogan.
School Bus Conversion Ideas
If you’re looking to design your skoolie, here are some of the top school bus conversion ideas that might inspire you:
Bright & Light Skoolie Bus Conversion
The skoolie can have an open kitchen with no upper cabinets, so you can see the entire bus when you look down the center. Plenty of storage is possible with underneath cabinets, storage bins, and a double-sided kitchen. You can keep it minimalistic with clean, symmetrical lines and make the entire layout out of soft sandal plywood to ensure an openness to the design.

Tiny School Bus Conversion
You can give your school bus a minimalistic build with six windows and try maximizing every inch of the space. Also, making the design out of raw wood and white paint keeps your space open and bright, which is great for a smaller space.

Cabin Bus Conversion
Give your school bus a cozy cabin vibe with all the wood accents and a pop of orange. Keep a little dinette where you can sit down for a meal or jump on your laptop to get some work done.

School Bus Conversion FAQs
What size of solar generator do I need for my van?
The size of the solar generator you need for your van depends on the number of appliances you charge and for how long. For example, the Jackery Solar Generator 3000 Pro can charge a laptop (150W), a 12V refrigerator (100W), a coffee maker (1000W), and a camera (9W).
Working Hours = Battery Capacity in Wh * 0.85 / Operating Wattage of Appliances
So, Working Hours = 3024Wh * 0.85/ 1259W = 2.0H
Note: The power station’s battery capacity is multiplied by 0.85 to denote the power loss during charging.
Is it worth converting a school bus into an RV?
Yes, it’s worth converting a school bus into an RV. In fact, many people are able to create several different rooms in the van, just like a small apartment.
How much does an electric school bus conversion cost?
An electric school bus conversion costs between $11,000 and $80,000.
What are the downsides of skoolie?
Skoolies, unlike RVs, are a bit difficult to drive, require some advance parking planning, and often get poor mileage.
Is a school bus safer than an RV?
Yes, school buses are designed to be sturdy enough to prohibit access to miscreants or wild animals and to withstand heavy collisions and accidents.
Converting a School Bus in Easy Steps
If living in a school bus seems like your type, it’s worth investing in a school bus conversion. It’s much cheaper and sturdy than RVs and offers more space to accommodate more amenities and people. Follow the guide to convert your school bus into a cozy and spacious living space. You can use Jackery Solar Generators to power up the appliances when living in a school bus, RV, or van. Their portable, ergonomic, and compact design makes them easy to carry around and is much more affordable than installing solar panels on the roof.


Leave a comment