


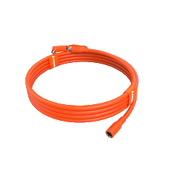


RV inverters are a great way to convert the direct current generated by the battery into an alternating current and use it to power electronic appliances. Depending on the family members, RV size, duration of the trip, and available appliances, select the right inverter size amongst available options: small, medium, large, extra-large, and high-capacity. Once you choose your ideal inverter, prepare an RV inverter wiring diagram before you proceed with the installation.
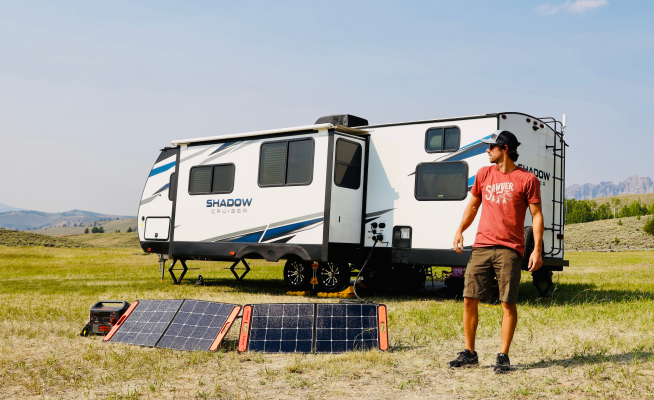
The installation process, however, is lengthy and a bit complicated. You'll need professional help to ensure wires are plugged in the right places, which can be expensive. Better, you can invest in solar generators that are efficient, reliable, and require no installation. Jackery Solar Generators are a great investment to power RV appliances and provide a safe and reliable green energy solution for RVing.
Key Takeaways
- An inverter is a power-electronic circuit specially designed to convert DC (direct current) into AC (alternating current) power. RV inverters are a great way to provide the comforts of home, even in remote locations.
- An RV inverter takes in DC power from a solar panel or a battery and converts it into AC power for appliances like refrigerators, ACs, TVs, etc.
- RV inverters are of two types: sine wave and modified sine wave inverters. Buying an inverter depends on its power output, budget, and power appliances.
- RV inverters are available in five sizes: small, medium, large, extra-large, and high-capacity.
What is an Inverter for an RV
An inverter is an electrical system that converts direct current (DC) into alternating current (AC) to run appliances such as refrigerators and air conditioners. Basically, an inverter keeps these appliances running when you aren’t plugged into shore power.
RV inverters are, therefore, a great option for those who want to avoid using outlets when camping or using a generator. They let you convert your mobile abode into a comfortable home with all the necessities and luxuries of modern technology. Without them, you just need to survive in the wilderness without any home comforts and can’t stay connected with your loved ones.

Most manufacturers prefer wiring a converter into the RV electrical system so the auxiliary battery will charge while you’re plugged into the shore power. Compared to inverters, RV converters differ in operation (converts AC to DC power), types, and disadvantages.
However, some say it’s a good idea to have both converter and inverter in your RV. For example, if you spend most of your time in an RV, the inverter takes care of your appliances’ power requirements. And you’ll need a converter to recharge the battery bank.
How Does an Inverter Work in an RV
RV inverters' working principle is relatively simple. When you wire an inverter to an RV, it takes DC power from the battery and converts it into AC power. This ensures your AC devices run safely with the required power.
Most home appliances work on alternating current over direct current as it’s more efficient and easier to handle. Its transmissibility over long distances is also a reason. On the other hand, batteries use direct current as it’s ideal to store electricity and provide a steady power supply in a single direction. So, to ensure home comfort while living off-grid, you’ll need an inverter for your RV.

Types of Inverters for RV
As you’ve decided to invest in an inverter, understand that there are primarily two types: sine wave and modified sine wave inverters.
Pure Sine Wave Inverter: As in the name, these inverters produce a perfect sine waveform, which means the voltage distortion is minimal and makes less noise. A pure sine wave inverter finds its usage in spaces with sensitive electrical appliances such as televisions or computers and is more expensive than the other types.
Modified Sine Wave Inverter: These are the most common and less expensive RV inverter types found in older RV models. The inverter produces a waveform close to a sine wave but not perfect. You can use it to power most basic AC electrical devices, such as charging and lighting.
Now, there are a few basic rules to consider when choosing an inverter, which are as follows:
What to Power: If you want to run basic appliances such as a few lights or charge your laptop and smartphone, then a less power-modified sine wave inverter is a viable choice. Otherwise, the sine wave inverter fits better into an RV with modern amenities such as a TV, refrigerator, portable air conditioner, etc. This inverter type is also suitable for powering appliances subject to signal strength loss, interference, and running on a motor.
Power Output: When choosing an inverter, consider its continuous and surge power output. Continuous power output is what an inverter provides throughout, while surge output is its maximum ability. Make sure your chosen inverter handles your RV’s power requirements. For example, if the appliances require up to 1500W power input, consider a 2000W inverter with 2000W continuous power and 4000W surge power.
Budget: Balancing the cost with functionality and quality is crucial when choosing the inverter. Modified sine wave inverters are cheaper than sine wave inverters, so choose one depending on your needs. Also, many inverters come with a DIY set containing all accessories and clear instructions to save on installation costs.
Sizes of Inverters for RV: 12V to 240V
RV inverters that convert 12V DC to 240V AC power are available in different sizes, each suiting specific needs. These are as follows:
- Small Inverters (300W-600W): These have enough power to charge and run basic electronics such as tablets, smartphones, cameras, laptops, LED lights, etc. Small inverters are suitable for small RVs or ones with minimalistic setups.
- Medium Inverters (600W-1200W): The typical setup is ideal for RVers with essential appliances and devices such as an LED TV, gaming console, small microwave, or multiple fans and lights.
- Large Inverters (1200W-2000W): Such capacity inverters can operate large kitchens and other household appliances like coffee makers, microwaves, or small refrigerators alongside the essentials. So, it can be ideal if you have a medium-sized RV with more substantial power needs.
- Extra-Large Inverters (2000W-3000W): These are ideal for large RVs and people who live off-grid most of the time. They can power heavy-duty appliances like full-size refrigerators, large microwaves, air conditioners, hairdryers, etc., without any issues.
- High-Capacity Inverters (3000W-5000W): It’s suitable for a fully-equipped RV with multiple users and can operate most household appliances, including AC units, power tools, washing machines, and multiple high-power devices. These inverters let you engage in full-time RV living.
Note: Regardless of size, the inverters have a 120V/240V AC power rating, so check the rating and ensure they can power your RV appliances. For example, a 1000W 120V inverter cannot power a 240V water pump or a water heater.
Now you have a clear understanding of the inverter sizes, here are a few things to keep in mind to determine what size suits your RV the best:
Step 1: List the Appliance Wattage
The first step in determining inverter size is to list the wattage of the appliances you seek to power with the inverter. Wattage is available in the instruction manual or on the label of each appliance.
Many manufacturers, however, mention the appliance’s power requirements in volts and amps rather than wattage. In such cases, use the formula Watts (W)= Volts (V) × Amps (A). For example, a sump pump operates at 220V and 5A, so its wattage = 220 × 5 = 1100W.
Also, a few appliances (especially ones that run on motors) have different running and starting wattage. For example, a sump pump or a power tool has a higher wattage during startup and a lower one while running. Include both values if you wish to power multiple appliances simultaneously.
Now that you have the appliance wattage chart, calculate the total running wattage by adding them. The formula is:
Total running wattage = Sum of the running wattage of the appliances
For example, if you power a hammer drill (1000W), coffee maker (800W), and a laptop (100W) at a time, Total running wattage = 1000W + 800W + 100W = 1900W
Then, calculate the appliance's surge value to ensure that the inverter can handle the appliance without any issues.
So, Total surge wattage = Running wattage of the appliances + Single highest starting watts out of the items you want to use
Amongst hammer drills, coffee makers, and a laptop, the hammer drill has the highest surge wattage value (3000W). Total surge wattage = 1900W + 3000W = 4900W.
You need an inverter with a minimum running and surge wattage of 2000W and 5000W, respectively.
Step 2: Add a Safety Margin
As you calculate the total wattage (running and surge), it’s advisable to keep a safety margin to cater to power surges and future electrical needs. A margin of at least 20% is recommended. For example, if your total running wattage requirement is 1900W, you need a generator with a minimum output of 2300W.
By keeping a safety margin, your inverter will be able to handle unexpected power demands and protect your RV electrical system from potential damage.
RV Inverter Wiring Diagram
Before making the RV power inverter wiring diagram, consider creating separate circuits or integrating them fully into the RV’s electrical system. Let’s discuss these options in detail:
Creating Separate Circuits
It is probably the simplest and can be done in two ways. First, you can plug an extension cord into the inverter and connect it to the AC appliance you want to power. Second, you can wire dedicated outlets into the inverter, which works when the inverter is turned on.
Suppose you have a 1000W generator and three 120V appliances to power. You can use a simple extension cord to distribute power over two appliances, separate from the camper's original electric circuit, which has one outlet and powers up when the extension cord is plugged into a shore power source. The third appliance can obtain power from the outlet.
Full Integration via Hard Wiring (Using Battery Inverter)
Connecting the inverter to the RV electricity distribution panel requires the installation of a transfer switch. Without that, connecting your RV to the shore power with your inverter will ultimately damage it as power runs backward in the unit.
A transfer switch separates the shore power source from the inverter. When you unplug the shore power source, you can connect your appliances with the inverter output. Also, ensure that the transfer switch is installed on a separate distribution panel and that the inverter is separate from the converter.
Full Integration via Hard Wiring (Using Inverter Charger)
Hardwiring with an inverter charger entails an integrated automatic transfer switch, so there is no need for a separate installation of extra wiring and a switch. Here, rather than separating the shore power, the inverter charger is a part of the circuit. When the shore power is plugged in, a 120V AC passes through the inverter and is sent to the distribution panel.

Now that you’ve decided on the options, here are the detailed steps to wire an inverter to an RV:
Step 1: Choose a Location
The inverter gives off heat while operating and requires space, so it’s crucial to maintain ventilation around it. Depending on the inverter’s size and power, make cooling vents and read the user manual thoroughly for space recommendations.
Next, install the inverter close to the battery bank to ensure minimal voltage drops. However, it isn’t applicable if you use lead-acid batteries, as a spark from it while charging can result in a fire. On the other hand, you can install others (like lithium iron phosphate, AGM, etc.) in the same compartment where they’re sealed.
Step 2: Disconnect Power
Before installing the inverter, disconnect all electrical power from your RV, including shore power. Accidentally turning on the power during wiring can cause damage and even start a fire.
Step 3: Secure the Inverter
Connect the wires properly before securing the inverter, depending on the installation location. Most inverters have factory-installed mounting holes to make this easy. Just ensure that you adhere to spacing and ventilation recommendations.
Step 4: Ground the Inverter
Inverters have an identifiable grounding connection lug, generally a screw or bolt connection. Check the user manual to detect them, insert the grounding wire into the inverter, and then grind it to the common RV ground, which is generally under the trailer's frame.
Step 5: Connect DC Cables to DC Inverter Terminals
Most inverters have appropriately sized negative and positive wires to connect the inverter with the battery terminals. Check for the respective terminals and establish the connections accordingly.
Step 6: Connect to AC Outlets in your RV
Depending on the type of circuits, establish the connections as follows:
- Separate Circuit with Extension Cord
Plug the extension cord into the inverter’s AC outlet and secure it to a desired location.
- Separate Circuit with Dedicated Outlets
You can either hardwire using the AC output terminal or use the inverter’s GFCI outlets:
- Determine the outlet location and install an electrical junction box.
- Connect the inverter and the ground, live, and neutral wires to the junction box. Secure the outlet and install the faceplate.
- Install more junction boxes for additional outlets and connect to the first outlet in parallel.
- Hard Wire to RV Breaker Box
- Connect the AC output’s ground, live, and neutral wires to the input terminals of the transfer switch.
- Connect the transfer switch’s input terminals to the electric breaker box.
- Then, connect shore power to the other input terminal of the breaker box.
Step 7: Disconnect Converter
If you’re using an inverter charger, you’ll need to disconnect the pre-integrated converter into the RV’s electrical system. For that
- Identify the converter and trace its wires to the AC side of the panel. Then, unscrew the terminal connections and remove the connecting cables.
- Identify positive and negative wires on the DC side of the panel, unscrew the connections, and remove the wires.
- Removing the wirings from the converter and distribution panel works, and you don’t need to remove the converter.
Step 8: Test the Installation
Reconnect the RV battery and turn on the inverter to test its voltage output. It should match with the inverter’s specified output. Then, connect small appliances to the inverter to ensure they function correctly.
Step 9: Secure the Wires and Perform the Final Checks
Use cable ties to neatly bundle and secure each RV wiring and keep it away from sharp edges or moving parts. Then, double-check the mounting, connections, and wiring before plugging in any heavy loads.
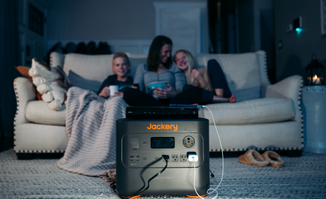
If you aren’t versed in the installations or not confident enough, try to seek professional help. Or get a reliable solar generator for your RV. Jackery Solar Generators are amongst the top choices in the market. They offer reliability, efficiency, safety, and the ability to charge most RV appliances for hours.
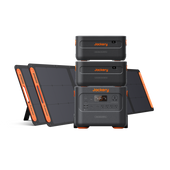
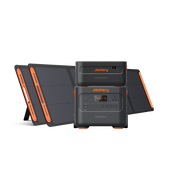
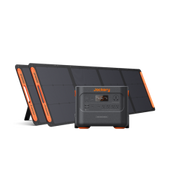
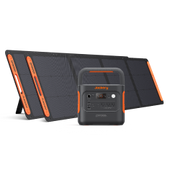
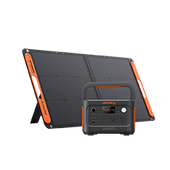
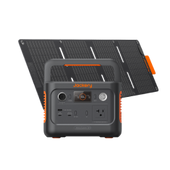
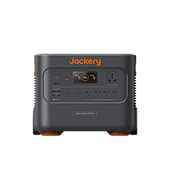
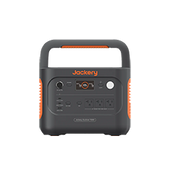
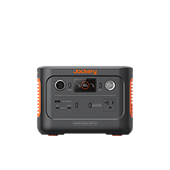
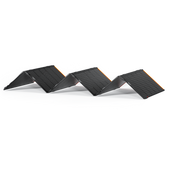
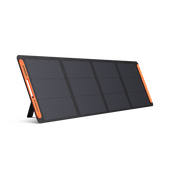
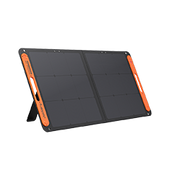
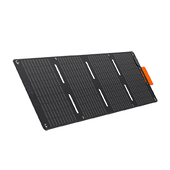
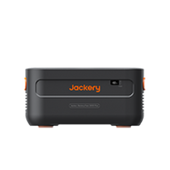
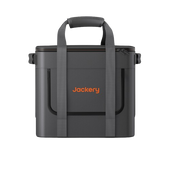
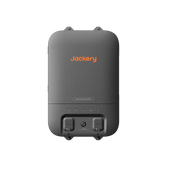
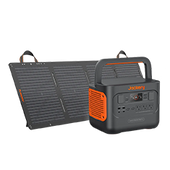
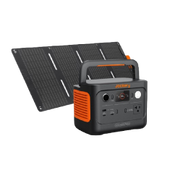
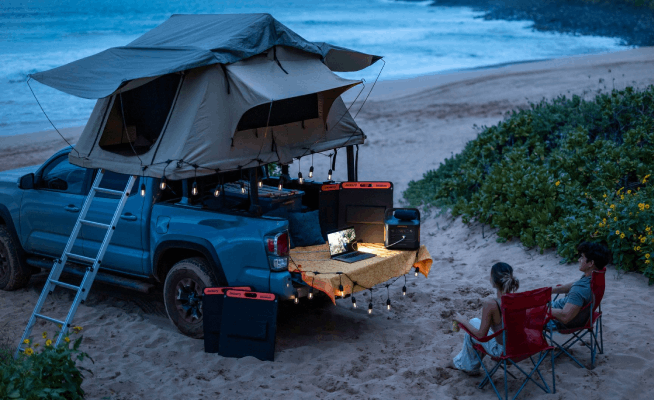
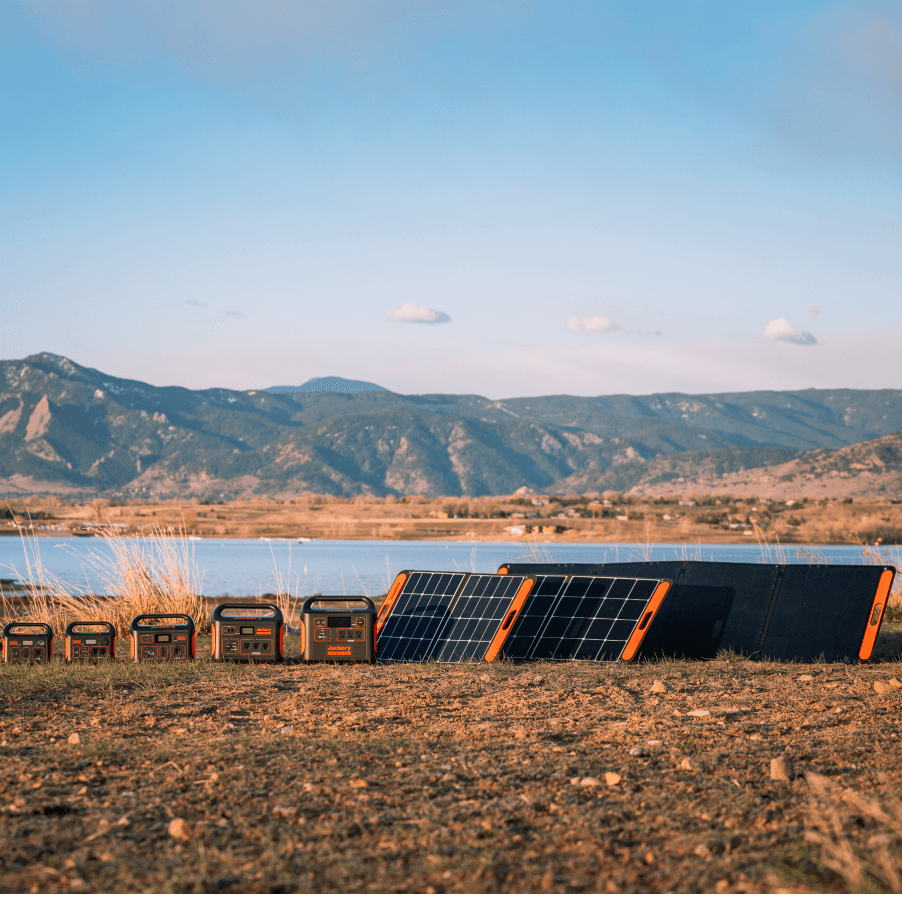
Jackery Solar Generators for RV
If you have an RV that you want to convert into a moving home, a solar generator is the perfect choice. So, if you wish, a Jackery Solar Generator is a great choice. Jackery is a notable manufacturer of foldable solar panels, solar generators, and portable power stations for the great outdoors.
Jackery Solar Generators are portable, efficient, and reliable solar battery backup systems specially designed for power backups at home and RVs. These combine Jackery Portable Power Station and Jackery SolarSaga Solar Panels to collect and convert solar energy into usable electrical energy. Solar power systems support most electrical appliances on the go, making them one of the finest RV generators.

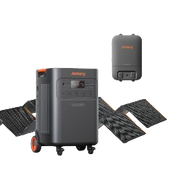
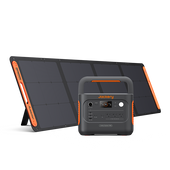
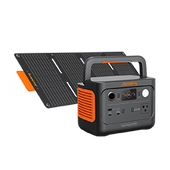
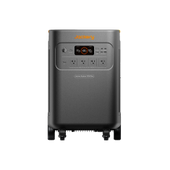
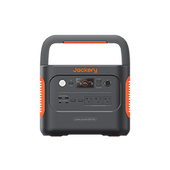
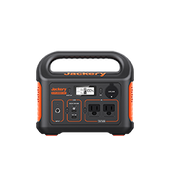
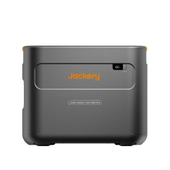
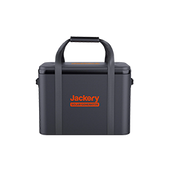
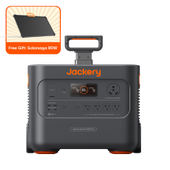
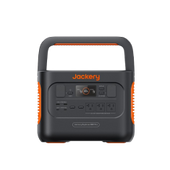
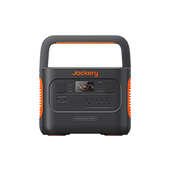
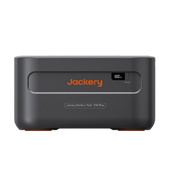
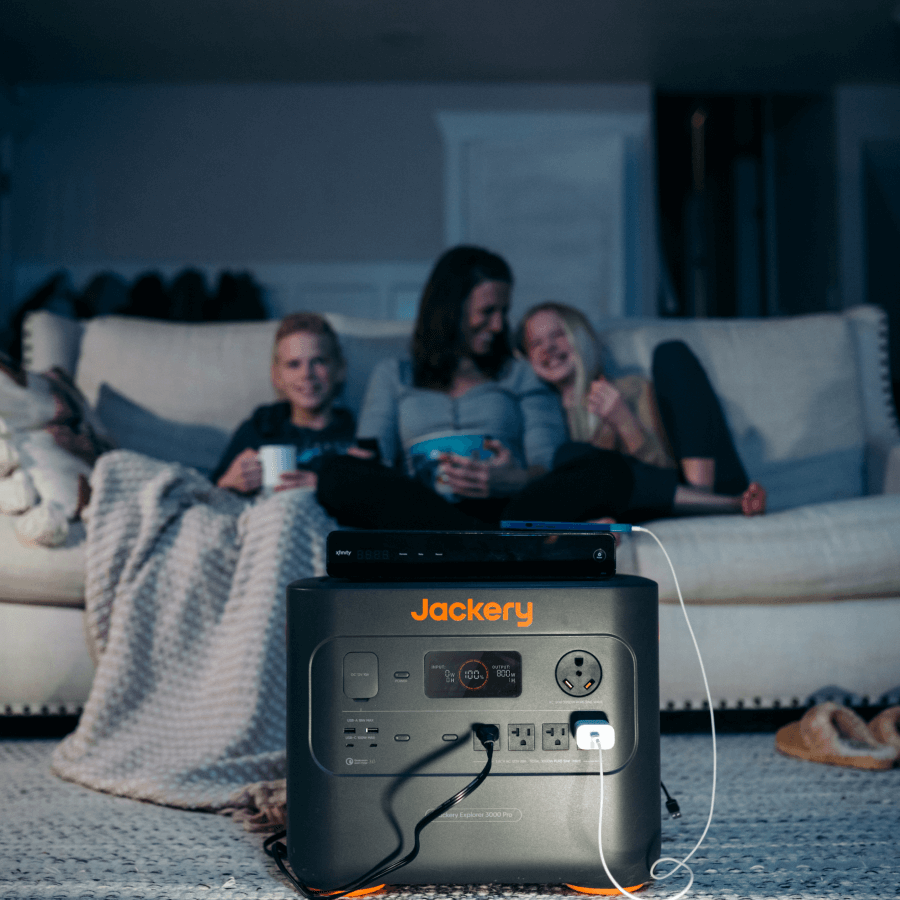
Jackery Solar Generator 2000 Plus
The Jackery Solar Generator 2000 Plus is a great power system for powering 99% of the appliances in your RV during your travels. Despite power fluctuations, refrigerators, AC, electric kettles, TVs, laptops, etc., function seamlessly. Moreover, courtesy of its durable nature, the Jackery Solar Generator 2000 Plus can be used in harsh weather conditions, whether rainy, snowy, or warm.
Appliance Running Hours:
- Portable Air Conditioner (1150W): 1.5H
- Electric Kettle (850W): 2.04H
- Coffee Maker (550W): 3.1H
- Electric Oven (800W): 2.2H
- Hand Drill (400W): 4.34H
- Computer (100W): 17.4H

Customer Review
“This generator has been a great addition to my tools and has the power to run miter saws, table saws, and paint sprayers while charging batteries for my power tools. Also, it's nice to have it at night to run fans and keep us somewhat cool as we sleep on the property. Excellent product!”- Redge Hudson.
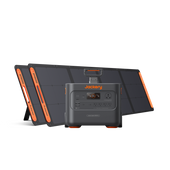
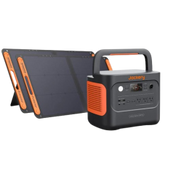
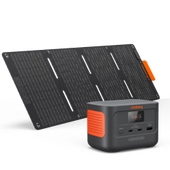
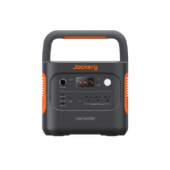
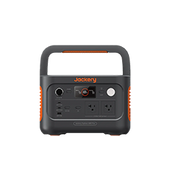
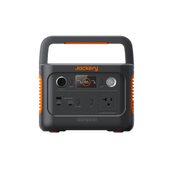
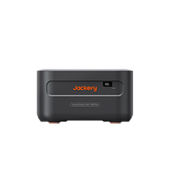
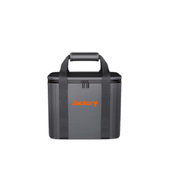
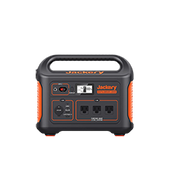
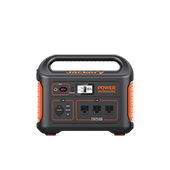
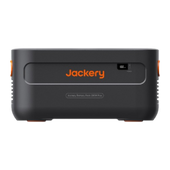
Jackery Solar Generator 300 Plus
Weighing just 8.27 lbs, the Jackery Solar Generator 300 Plus is a great choice for short camping and RV trips. Despite its compactness, it packs enough power to keep essentials like mobile phones, computers, speakers, drones, and others running. With minimal noise, no emissions, and safety features, you can safely keep it inside your RV and plug your devices into it.
Appliance Running Hours:
- Camera (40W): 6.1H
- Laptop (100W): 2.4H
- Drone (90W): 2.7H
- CPAP (10W): 24.4H
- Car Fridge (60W): 4.1H
- Smart TVs (60W): 4.1H

Customer Review
“Super easy to carry. I bought the 40w solar panel with it and love how easy and small it is as well. The 300 is very portable. I mostly purchased it for backup in case of emergency and to run a car cooler when I travel. I’ve already used it for the car cooler, and it worked like a dream.”- H.B.
Tips for Using An RV Inverter
Using the RV inverter and maintaining it properly is non-negotiable, as anything less results in a degradation in performance. So, here are a few usage and maintenance tips:
Tip #1: Turn off the inverter without using it. RV inverters passively suck energy when they are not in use, which results in their lifetime reduction.
Tip #2: Try to plug as many appliances as possible into the 12V DC system, as the inverter loses 10-15% of its efficiency during the conversion of DC to AC.
Tip #3: Install your inverter in a cool, clean, dry place, and make sure it is connected to a healthy battery.
Tip #4: Perform regular inspections and check the electrical connections to ensure everything is secured. If you find any fault in the wiring or the machine, contact professional help.
RV Inverter Wiring Diagram FAQs
What size solar generator do I need for my RV?
The size of solar generator one needs for their RV depends on the number and type of appliances they seek to power simultaneously. For example, you’re running a portable air conditioner (1150W) and a coffee maker (550W) on Jackery Solar Generator 2000 Plus.
Working Time = Capacity of Jackery Solar Generator 2000 Plus in Wh × 0.85 / Operating wattage of the appliances.
Working Time = 2042.8Wh × 0.85 / 1700W = 1.0H
Note: 0.85 is multiplied here to denote the power loss during charging.
Does an RV have both an inverter and a converter?
Yes, RVs usually come with a converter, but you might need to purchase and install it separately.
What runs off of the inverter in a camper?
An inverter obtains direct current from a solar panel or battery and converts it into alternating current. This allows you to plug in and power your AC appliances, such as microwaves, TVs, coffee makers, ACs, refrigerators, and others.
Should the RV inverter be on when plugged in?
Yes, an RV inverter must be plugged into a battery to power the appliances.
Is it okay to leave an RV inverter on all the time?
It’s recommended that you turn off your inverter when not in use. The inverter consumes a small amount of power when it isn’t running any loads, which depletes the battery and reduces the inverter's lifetime.
Final Thoughts
An RV inverter wiring diagram is crucial when you DIY install a solar inverter in your camper van or RV. Having the right blueprint ensures the appliances get the right amount of power, and you continue to experience the comforts of home even in remote locations.
However, it requires careful planning, investments, and regular maintenance. So, if you seek to convert your RV into a self-reliant, off-grid vehicle, check out the powerful Jackery Solar Generators. These come in many sizes and can power most appliances for hours.
We hope you learned everything you need to know about installing an inverter in an RV. If you have any doubts, let us know in the comments below.


Leave a comment