Knowing how to charge Nintendo Switch controllers using the proper charging methods is essential to ensure that your Nintendo Switch controllers are always powered up. Whether you use a Joy-Con, a Pro Controller, or a third-party controller, it should provide you with a versatile gaming experience. Charging Nintendo Switch controllers is simple, and various methods are available, including switching consoles or using a separate charging grip. Third-party controllers and Pro Controllers follow a similar charging pattern.
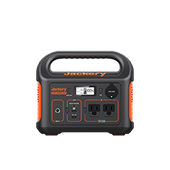
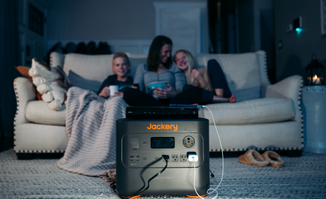
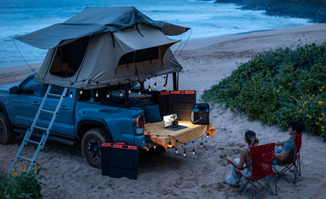
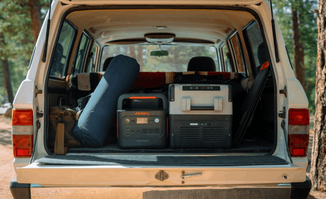
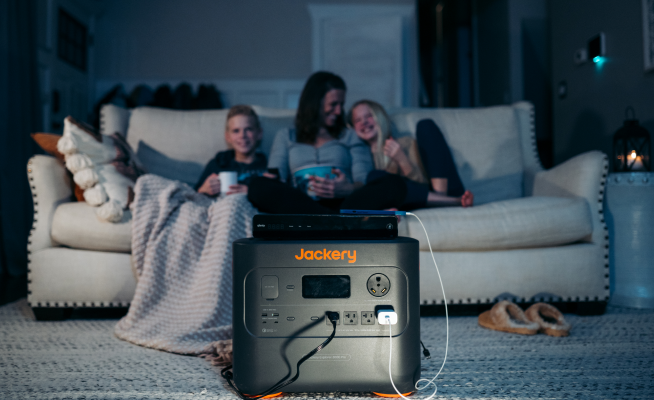
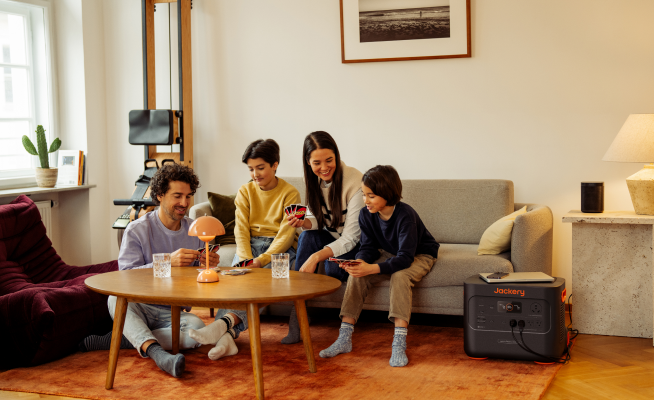
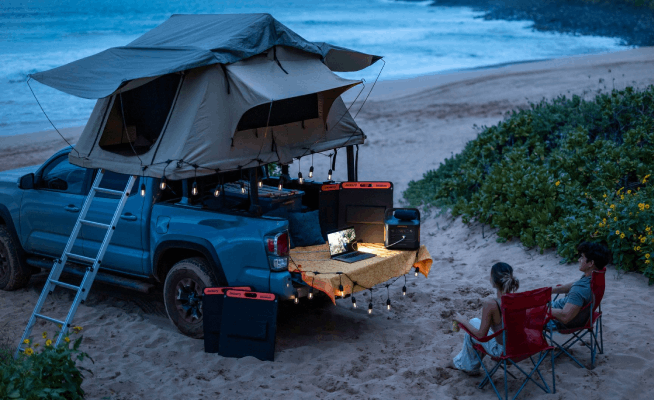
Jackery Portable Power Stations are great for outdoor power solutions and provide a sustainable and reliable way to charge your Nintendo Switch controller, even in remote locations. Proper charging should ensure that dead batteries do not interrupt your gaming adventures. Hence, you will always be ready to take action by having reliable power sources like Jackery Portable Power Stations.
Understanding Nintendo Switch (Joy-Cons) Controllers
It is essential to charge your Nintendo Switch controller to enjoy your gameplay for hours and not worry about battery life. There are 3-types of Nintendo Switch controllers:
- Joy-Con Controllers: This Nintendo Switch has two Joy-Con controllers, which can be used either separately or combined for an exciting gaming experience. Each controller has its own set of buttons. The controllers can be attached to the console for handheld mode or detached for tabletop mode. You can attach these controllers to either side of the switch, and they take around 3-4 hours to charge fully.
- Pro Controller: This type of controller is an optional accessory with a sleek and ergonomic design. It provides a traditional gaming controller experience. The Pro Controller can be charged using any USB Type-C cable.
- Third-Party Controllers: In addition to Nintendo Switch controllers, many third-party options are also available for gamers. These controllers can suit budgets and provide a traditional gaming experience. Remember to follow the instructions given by the manufacturers for charging the controller. The charging pattern will likely be similar to that of Pro Controllers.
Nintendo Switch Controllers Charging Basics
You should know some essential components and methods while charging your Nintendo Switch controllers. Here are some charging basics and requirements for the same:
AC Adapter and Charging Dock
The most preferred method to charge your Joy-Con controller is a Nintendo Switch AC Adapter. To charge your Joy-Cons, connect the adapter to the dock. Now, place your switch and Joy-Con into the doc. Once the console is connected to power, the Joy-Cons will charge automatically. You can use the Official Nintendo Switch AC Adapter and Switch Dock to continue gaming on your desktop.
USB Cable and HAC-002
To charge the Joy-Cons, you will need a HAC-002 USB cable. However, if you need a more comfortable grip, you can add the Joy-Con HAC-012 charging grip as an additional accessory.
LAN Port and Power Bank
You can choose a power bank compatible with the HAC-002 USB cable to charge your Nintendo Switch controllers on the go. Ensure that the USB port you use is compatible with charging.
How to Charge Nintendo Switch Controllers?
One of the best ways to keep your Joy-Cons controllers going for an extended duration is by adopting healthy charging habits and methods. These charging methods will keep the controllers high on battery for your upcoming gaming quests. Primarily, there are five methods to charge Joy-Cons controllers, which are as follows:
1. Attaching to Switch Console
One of the easiest ways to power up your controllers is to connect them to the switch screen. To do so, align the controller with either the left or right rail along the screen edge. Next, slide the controllers until they snap securely into place. This will connect the controller to the switch battery. An LED indicator will light up on the switchboard to ensure the charging is being processed.
2. Charging Grip Accessory
The Joy-Con charging grip comes with a switch, and you can attach the Joy-Con to the grip to use it as a controller. When connected to a power source with a USB-C cable, the Joy-Cons get charged as well. One advantage of charging the Joy-Cons using the grip is that they charge faster in the grip than charging separately.
3. Charging Standalone
With the help of USB-C and USB-A cables, each Joy-Con controller can be charged up solo. You can check the battery status by pressing the sync button on the controller’s rail. If it blinks out, red flashes indicate how much battery is left. One flash means the battery is finished, and four flashes indicate a 100 percent battery. You can also use a special cable to top up the charge. It has a USB-C port where you can plug the USB-C cable end. Next, take a USB-A side and insert it into any handy power source.
4. Charging Via USB-C
Although the pro controller has a good battery life, you need outlet battery backups during emergencies. In that case, you can dig up any powered USB source, such as the Jackery Portable Power Station, which offers reliable backup power during off-grids. These power stations are lightweight and can be carried during a flight and for outdoor activities.
5. Using Charging Stand
You can use an external third-party or Nintendo’s pro controller charging stand. This handy accessory is shaped like a small kickstand that props up the controller. It is a USB-C cable connected to an AC adapter that handles all the charging duties. You just need to plug the stand adapter into the nearby wall outlet and then place the pro controller on the stand, and your controller will power up. It will also be able to sense the controller and the stand connection, after which the status light will confirm that it has been loaded.
How Long Does It Take to Charge A Nintendo Switch Controller?
It will take around 3.5 hours to fully charge a Joy-Con Controller. Do keep in mind that you need to purchase the Joy-Con charging grip Model HAC-012 separately because it is not included in the Nintendo Switch bundle. The Nintendo Switch Pro controller takes 6 hours to charge fully. When the Pro controller is fully charged, the LED light beside the USB connector will turn off.
Jackery Portable Power Stations for Nintendo Switch Controllers
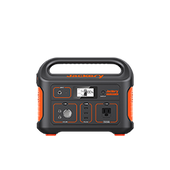
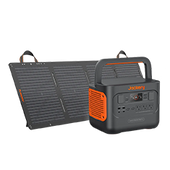
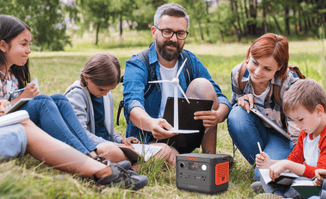
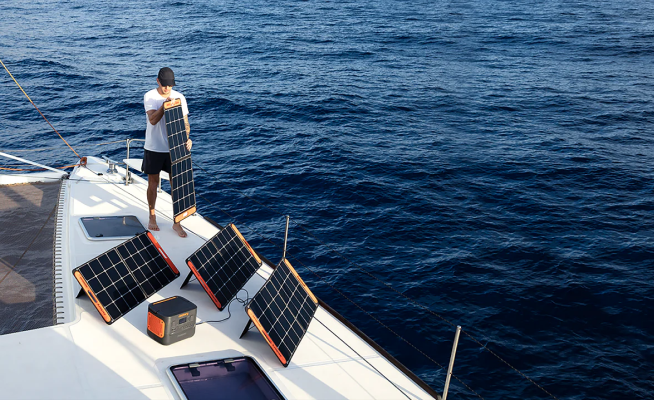
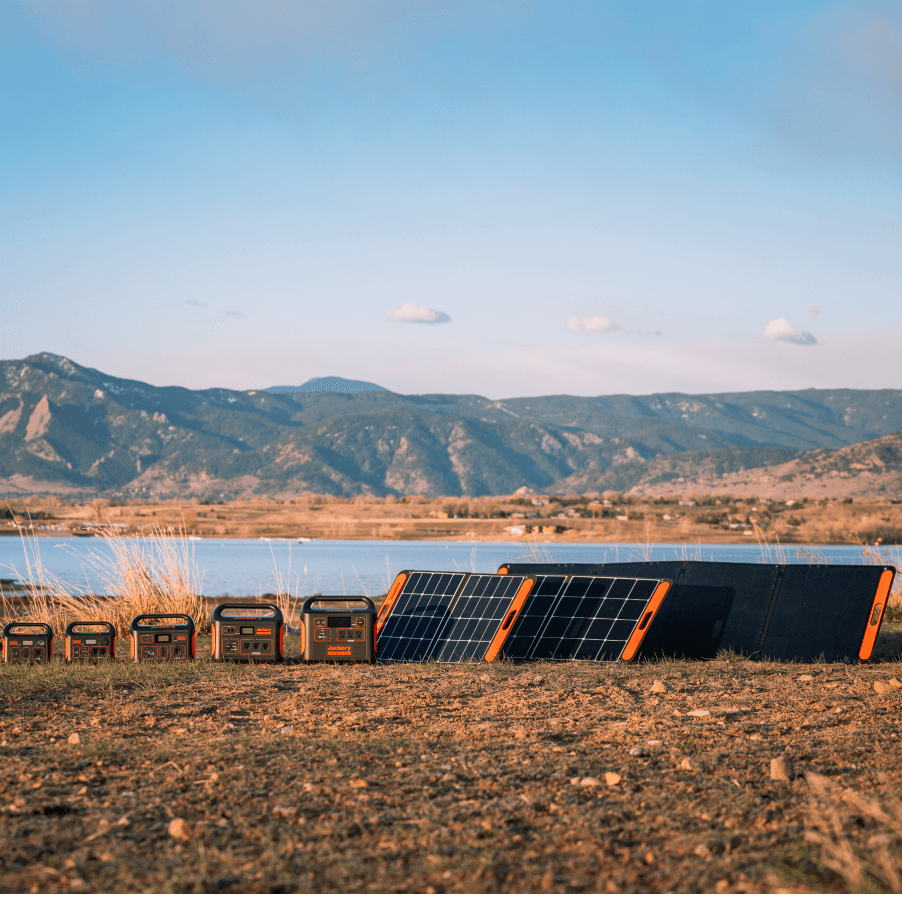
Jackery is a global leader in producing outdoor portable power stations, solar generators, and solar panels. These are intended for outdoor use and offer a sustainable and environmentally friendly solution for charging devices and as an emergency backup. Jackery meets the power needs of all nature lovers, motivating them to seek more extraordinary experiences than ever before. They encourage global adventurers to enjoy the outdoors sustainably while working together to protect the environment.
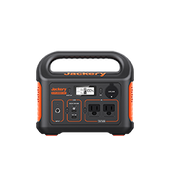
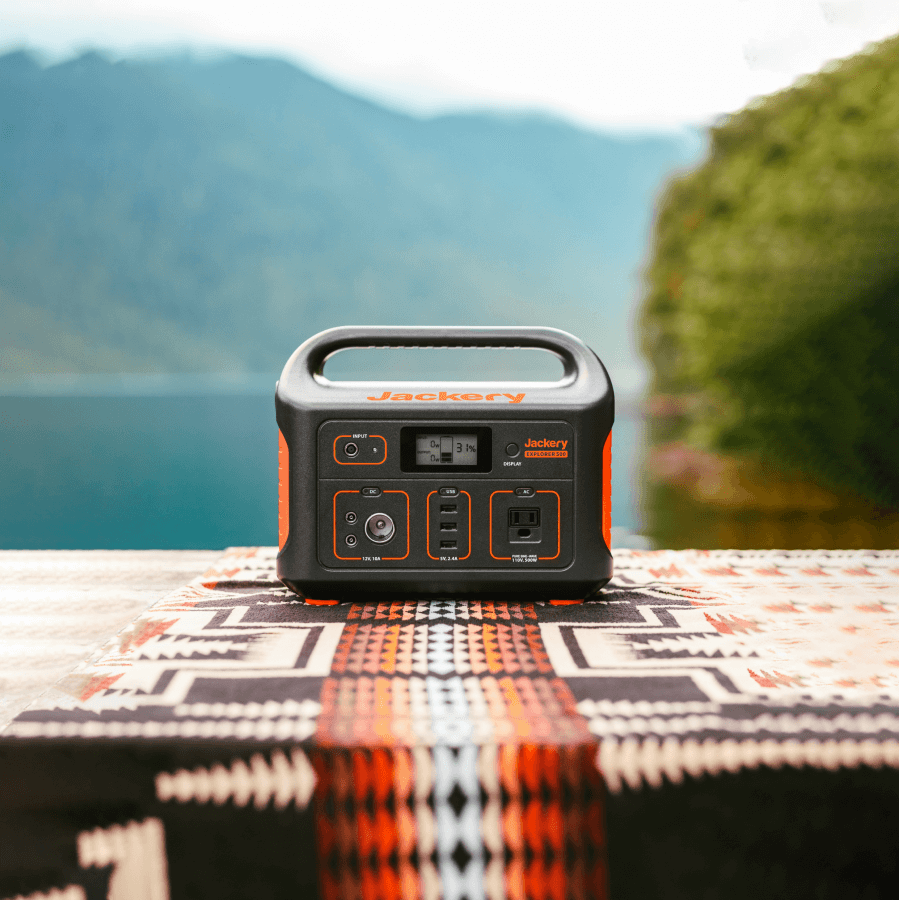
The Jackery Portable Power Station is a battery-powered inverter generator with an AC outlet, DC carport, and USB charging ports for powering your appliances. It is an excellent power source for any activity, whether you are planning off-grid living excursions, traveling, or needing a backup power supply to charge your Nintendo Switch Controller. The Jackery Solar Generators have a high solar conversion rate and provide consistent green energy for outdoor activities. They use solar panels to capture solar energy, which they store in a portable power station. The Jackery Portable Power Station includes an inverter that converts DC to AC and can power appliances outdoors.
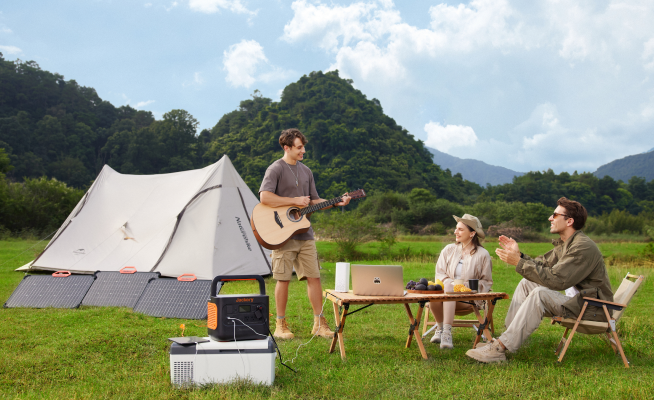
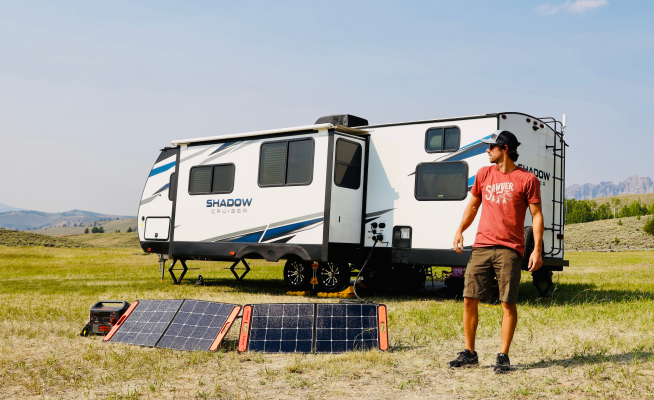
The wattage of a Nintendo Switch Controller is around 20 watts. The Jackery Portable Power Station provides an accessible power source to individuals wherever they are. If you love to spend time outdoors, having a portable power station would be a great decision to have some energy available to charge your Nintendo Switch Controllers. You can charge the Jackery Portable Power Station using a standard wall socket, solar panels, a car outlet, and USB charging, and then take it outdoors.
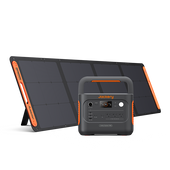
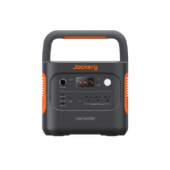
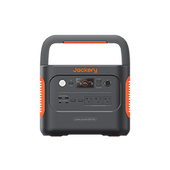
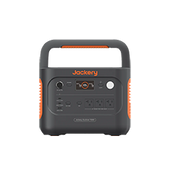
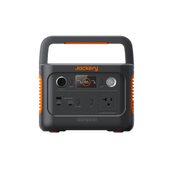
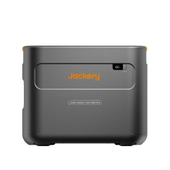
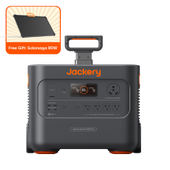
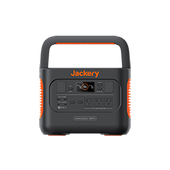
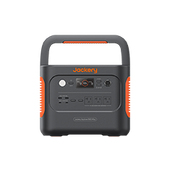
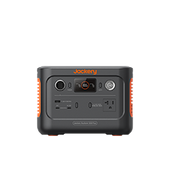
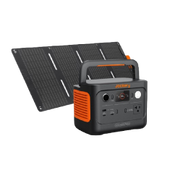
Jackery Explorer 300 Plus Portable Power Station
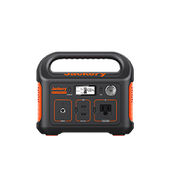
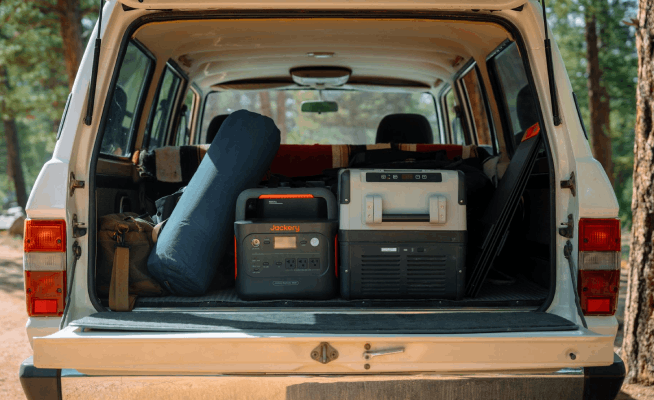
The Jackery Explorer 300 Plus Portable Power Station is a good option for short trips or outdoor activities. A durable LFP battery has a long-lasting battery lifespan boosted by 50%, which ensures up to 10 years of use. With its higher capacity, it can charge multiple devices quickly. It is portable and lightweight and can be carried on a flight.
Here are the working hours of a Nintendo Switch controller:
Nintendo Switch Controller (20 W): 12.24 H

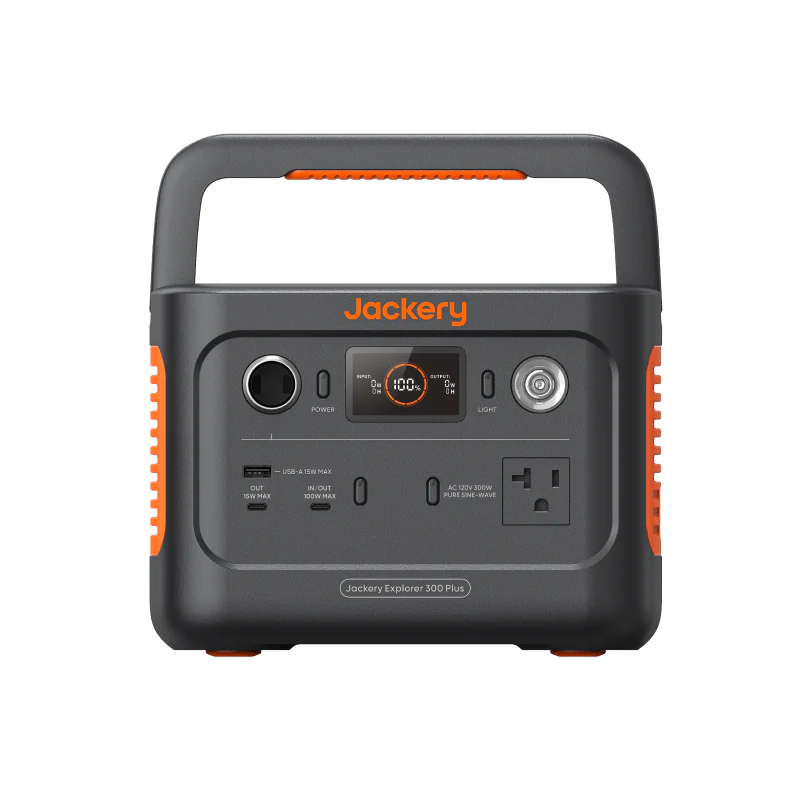


- Power on the Go: Weighing only 8.27 lbs, it's ideal for camping, road-trips and more
- All-around Safety: Max safety featuring 52 protective mechanisms, 12 BMS algorithms, and 4 types of physical protection
- Superior Reliability: FCC/CE, UL 94V-0 flame-retardant, Class 9 impact resistant, and UL certified for 300 Plus
- Long-lasting Lifespan: the battery life is boosted by 50%. Durable LFP (LiFePO4) batteries, coupled with BMS protections ensures up to 10 years of use, even when recharged every 3 days
- Smart App Control: Easy battery management via Wi-Fi or Bluetooth
- Note:an additional 8020 to USB-C adapter is required to connect a solar panel
- Warranty Extension: 3-year warranty + 2-year extended warranty (applied automatically if purchased from our official website)
Customer Review
“It is Lightweight, making it portable. It can charge a phone or laptop, plug in lights, and hold a small appliance for cooking. This is high-quality equipment for home after storms, bug-out evacuation, or camping. Thank you for enabling greater peace of mind.” -- Marie
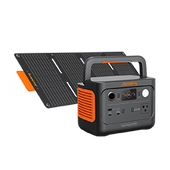
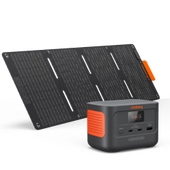
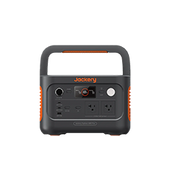
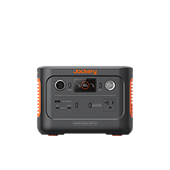
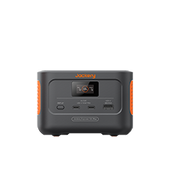
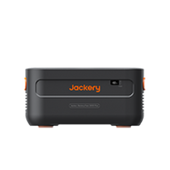
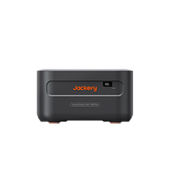
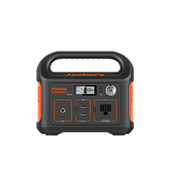
Jackery Explorer 100 Plus Portable Power Station
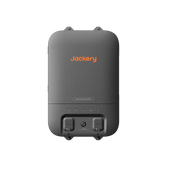
Jackery Explorer 100 Plus Portable Power Station is a mini portable power station with a long-lasting LFP battery. It can be fully solar-charged in 2 hours. With an ability to retain 80% of its capacity, it is lightweight and puts power right in your hand. This gives you the additional benefit of carrying this power station on flights or anywhere you go. Including your Nintendo Switch controller, it can charge three devices simultaneously.
Here are the working hours of a Nintendo Switch controller using Jackery Explorer 100 Plus Portable Power Station
Nintendo Switch Controller (20 W): 49.54 H


- Mini Jackery Portable Power Station, 99Wh, 128W
- Long-lasting LFP Battery: 2,000 Cycles to 80% Capacity
- Fully Upgraded BMS (Battery Management System) Protections
- 100W Dual PD Charging & Discharging
- Fully DC Charged in 1.8 Hours and Solar Charged in 2 Hours
- Whisper Quiet, Emission Free
- Guaranteed Satisfaction: 2-Year Long Warranty
Customer Review
“Love this little personal size Jackery. I can take it anywhere; it fits in the palm of my hand, and I can keep my devices charged up when I am outside or the power goes out. Love it.” -- Deborah Lomax
Why Won’t My Nintendo Switch Controller Charge?
Sometimes, you might need help with issues with your Joy-Con controller, such as not turning on, disrupting the battery charge indicator, or the battery life being concise. One of your Joy-Con is not working.
Before you start, you need a Nintendo Switch or Nintendo Switch OLED model, your Joy-Con, and a Nintendo Switch AC adapter. Follow these steps to fix the issue:
- Unplug the AC Adapter from the dock and the wall outlet.
- Now, check whether you are using the Nintendo Switch AC Adapter MOD. HAC-002.
- Check if your AC adapter is damaged, has a split cord, loose connectors, or a broken cable.
- Now, you need to detach the Joy Controllers from the console. Then, press the sync button once on both controllers to reset the Joy-Con.
- Now, attach it back to the console. Connect the AC adapter, and the battery charging indicator will appear in the upper left corner of the console screen.
- Now go to the Home menu and select controllers. Check to see if the Joy-Con is now charging. Remember that Joy-Con cannot be charged using Nintendo Switch Lite, and you need an additional charging grip.
How to Charge Nintendo Switch Controllers FAQs
What size of power station do I need for my Nintendo Switch Controller?
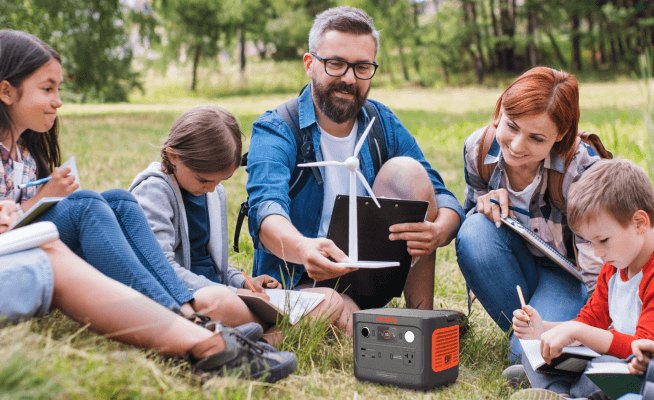
Investing in a power station allows you to charge your Nintendo Switch Controller with clean, renewable energy. However, the amount of portable power required to charge most outdoor appliances is determined by the number of devices and the length of time you want to power them.
For example, a Jackery Explorer 100 Plus Portable Power Station can charge a Nintendo Switch controller (20 W) and a gaming console (18 W).
Working Time = Capacity in Wh × 0.85 / Operating wattage of the appliances.
So, Working time = 288 Wh × 0.85 / 38 W = 6.4 H.
How do I know if my Switch controller is charging?
After you place the Switch Controller onto the dock, the LED indicator above the PRO Controller will light in Red to indicate the controller is charging.
Can you charge Switch controllers without a dock?
Using a Nintendo Switch Joy-Con Charging Grip, which you can buy separately, you can charge Nintendo Switch Controllers without a dock.
Do Switch Controllers charge when plugged in?
If the central part of the console has power, it can charge the controllers. You must charge the whole system if neither the controller nor the console has been accused.
What are the green lights on a Switch controller?
The green light indicates that it has been turned on and is connected to the Nintendo Switch.
Final Thoughts
Understanding how to charge Nintendo Switch controllers is essential for enjoying gaming without interruption. From Joy-Cons to traditional Pro Controllers, adequate power provides a smooth experience. Proper charging methods and accessories, such as Nintendo’s charging grip or a power backup source, such as the Jackery Portable Power Station, should be preferred. Jackery Portable Power Station's strength lies in offering power solutions and its commitment to sustainability and contributing to a greener future. With Jackery, gamers can enjoy outdoor and indoor adventures without worrying about running out of power.






















![How to Charge Nintendo Switch Controllers [Ultimate Guide 2024]](http://www.jackery.com/cdn/shop/articles/how_to_charge_nintendo_switch_controllers_by_jackery.jpg?v=1714993137)




Leave a comment