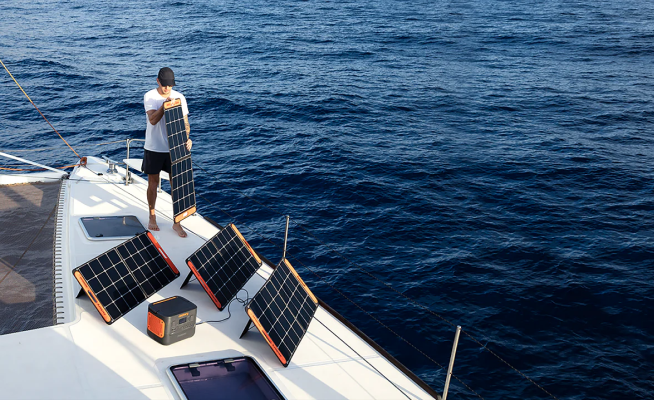
At Jackery, we're thrilled about the latest technological advancements that have revolutionized marine battery charging. You no longer have to worry about returning to the shores to power up your boat's batteries, as solar panels have become an incredibly convenient solution.
With our top-of-the-line solar panels, you can efficiently recharge your boat's batteries while keeping all your appliances up and running, ensuring a seamless experience on the water.
Will a Solar Panel Charge a Marine Battery?
Modern marine boats come with multiple applications that run on electrical power. Usually, they are fitted with two batteries: one for starting the engine and the other for trolling. You can use an onboard generator or solar panels to charge these batteries.
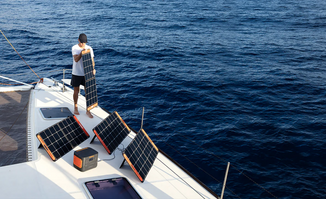
Investing in marine solar panels is one of the most excellent ways to ensure your batteries are always charged. The size and power of the solar panel you need will be based on the size and the number of batteries in the boat. You'll need to mount the marine solar panel in a location with optimal sunlight reception, install the wiring to the charge station, and add a charge regulator.
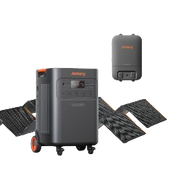
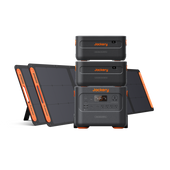
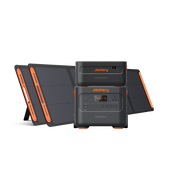
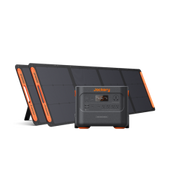
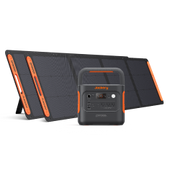
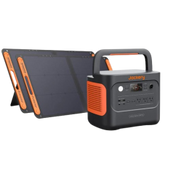
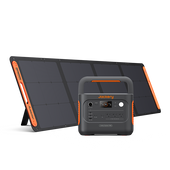
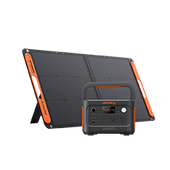
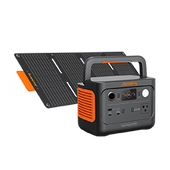
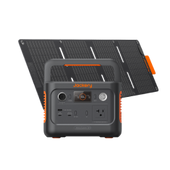
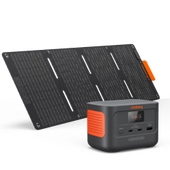
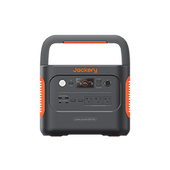
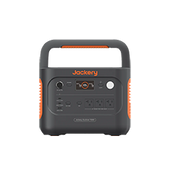
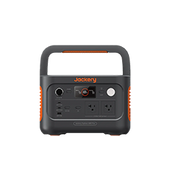
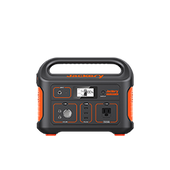
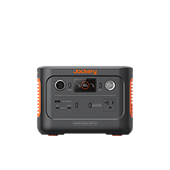
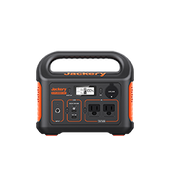
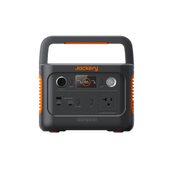
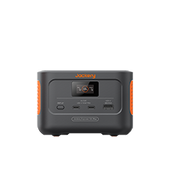
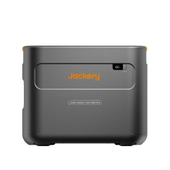
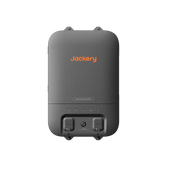
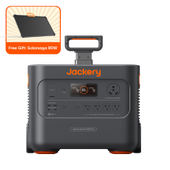
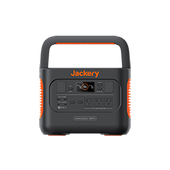
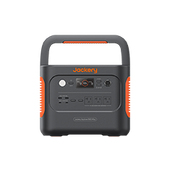
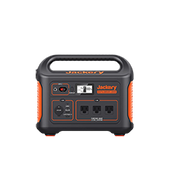
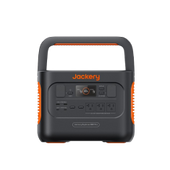
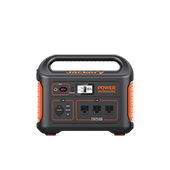
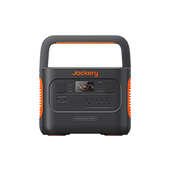
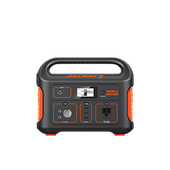
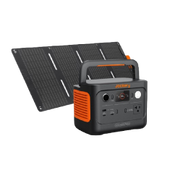
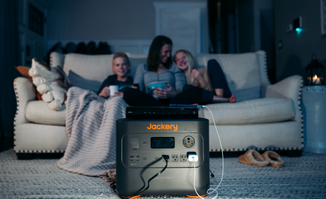
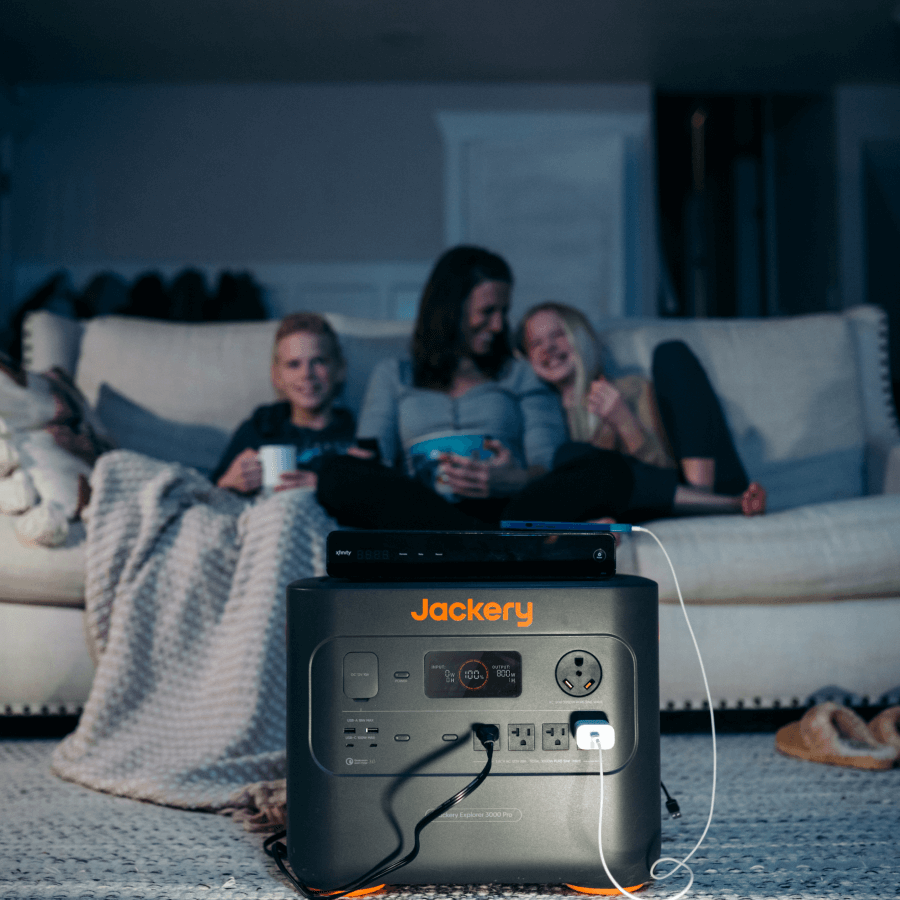
Also, a Jackery portable power station can serve as an additional battery for your onboard appliances requiring electrical power. The Jackery Explorer 2000 Plus Power Station is your boat's perfect portable power solution. It provides 3000 watts of rated power, meaning it can power up various appliances and gadgets on your boat such as refrigerators, air conditioners, microwaves, phones, laptops, and more.
Types of Marine Batteries
Marine batteries come in three distinct types. Each is named after its specific job, including:
- Starter battery:This marine battery is purposely designed to crank or start the boat's motor. Although it produces a burst of power in seconds, it's only enough to start the boat but won't keep it running.
- Deep cycle battery: These high-output batteries boast thicker plates that provide additional and consistent power for trolling the boat and running all appliances, including GPS, light, and fish finder.
- Dual-purpose marine batteries:As the name insinuates, these batteries handle the tasks of the starter and deep cycle batteries. They'll help crank the boat's motor and keep it running.
The best part is that marine solar panels can charge all types of marine batteries.
What Size Solar Panel to Charge Marine Battery
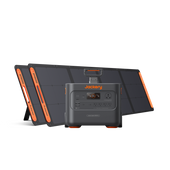
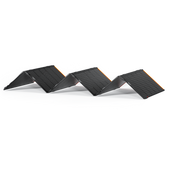
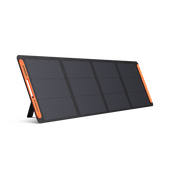
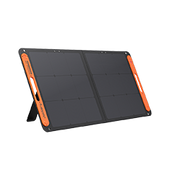
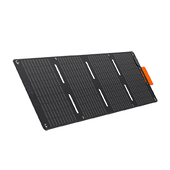
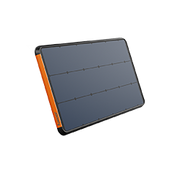
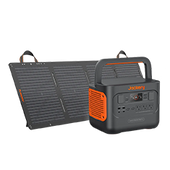
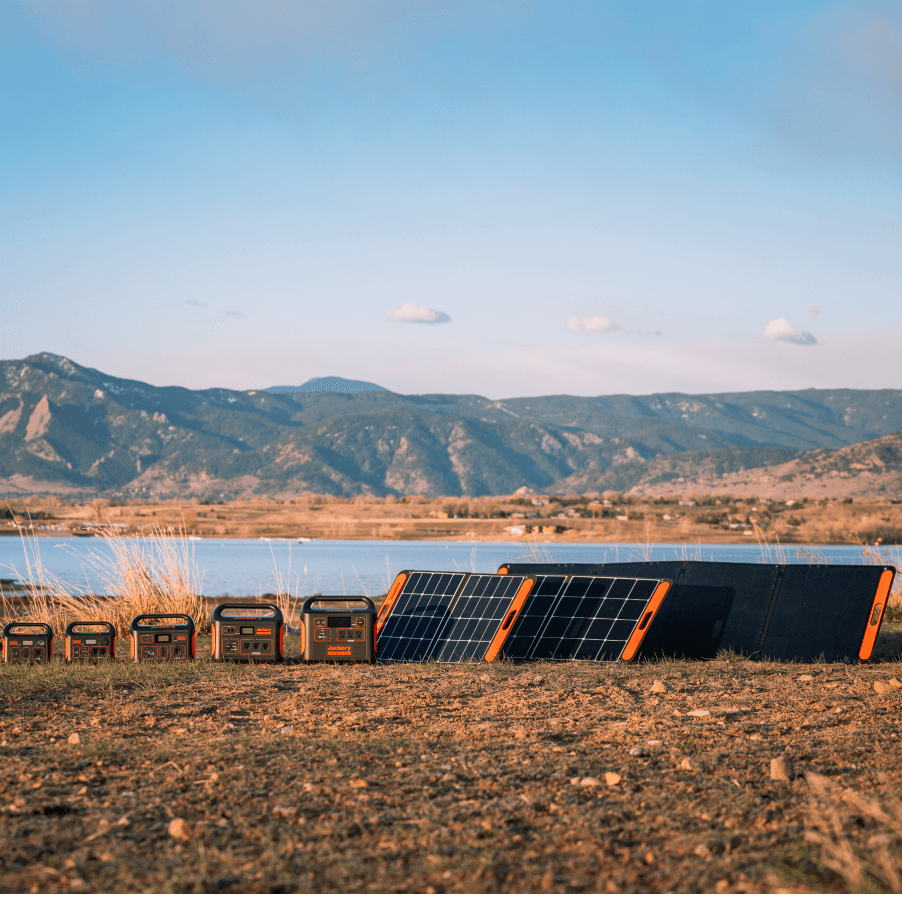
So let’s say your boat runs on a 12v deep cycle marine battery; then three Jackery SolarSaga 100W Solar Panels will be enough to charge it. However, it's crucial to remember that 12v batteries have different capacities ranging from 5 to 200 amp-hours. Therefore, you should always check out the battery's capacity to guide you on buying the right solar panel.
Deciding on the size of a solar panel for your marine battery can be a complex process. You'll need to consider several elements, such as the type and capacity of your battery, how much energy you will require to generate, and where you plan to set up the panels. With all these factors considered, selecting a suitable size panel should become simpler.
The solar panel you choose should be able to provide enough charge to replenish the energy stored in your marine battery fully. Generally, solar panels with wattage ratings 30% higher than the current draw of your batteries are suitable for charging them.
Also, consider how much energy you need from your solar panels. Determine how many hours of sunlight you receive and how much energy each panel can produce on an average day. You'll also have to consider whether you want a single panel or multiple panels to generate more electricity.
Components Needed To Charge a Marine Battery With a Solar Panel

To charge a marine battery with a solar panel, you will need the following components:
- Battery: You need to know the type of battery in your boat to choose the right solar panel.
- Marine solar panelsYou'll need one or two Jackery SolarSaga panels to harness power from the sun and charge the battery.
- Charge Controller:This device will help regulate the amount of energy trickling down to the battery, reducing overcharging incidences and fast deterioration.
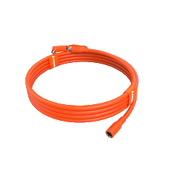
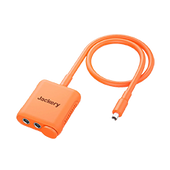
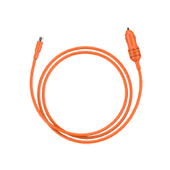
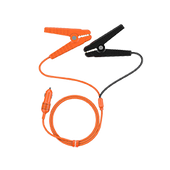
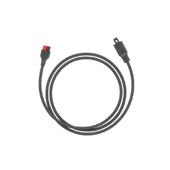
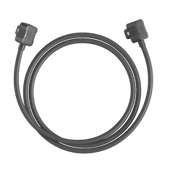
- Battery and adapter control cables:You'll need to get power cables for both the adapter and the battery.
How to Hook up Your Boat Batteries to a Marine Solar Battery Charger
Once you have all the essential components, it's time to start setting up your boat batteries and marine solar battery charger.
Choose the Location for Your Marine Solar Battery Charger
Choosing the right location for your marine solar battery charger is important so you can get the most out of your charging system. Where you place your charger can affect its performance, life span, and safety.
Here are some tips to consider when selecting a spot:
- Sunlight - Choose a spot where there is plenty of direct sunlight available.
- Protection- Find a spot that is sheltered from wind, rain, and other elements to protect your charger from damage.
- Ventilation- Ventilation is needed to help to keep your charger cool and reduce the possibility of overheating or malfunctioning.
- Accessibility- Choose a spot that is easy to reach and maintain.
- Safety- Make sure that the location you choose is away from high-traffic areas or combustible materials, and take all necessary steps to secure the charger to its mount.
Clean the Terminals
Ensure the terminals are clear of dirt, grease, or corroded deposits. Terminals tend to rust when they come into contact with the clippers that supply power to the boat creating a buffer for the free flow of current. Cleaning the terminals reduces short circuits and unexpected outages.
Connect the Cables
Ensure that you use either the O-ring terminals or alligator clips. The positive cable (usually red) should be connected first to the positive terminal and then the negative cable to the other terminal.
Connect the Charge Regulator
The charge regulator should be kept in place before connecting the solar panel to the battery. The cables from the battery should be hooked into their respective ports labeled positive and negative.
Connect the Marine Solar Panel to the Charge Controller
Start by connecting the positive and negative terminals of the panel to their respective connectors on the charge controller. All connections should be tightened and no bare wires are exposed.
If you have Jackery SolarSaga panels, the Ground pin can be connected directly to the negative terminal on the charge controller. If you have a different type of panel, you may need to connect an additional ground wire between the panel and the charge controller.
Once all connections are secure, turn on the power switch on the Charge Controller. The LCD display will show a menu of available settings and options. You can use this menu to adjust the charging parameters according to your particular needs.
When setting up a solar charge controller, monitor the system periodically to ensure that everything is functioning properly. If any problems arise, make sure to consult us at Jackery for troubleshooting.
Check the Indicator
Once everything is set, you'll see an indicator showing the controller receiving power from the solar panel. If the indicator doesn't display, you must check for any short circuits in the system.
How to Disconnect Your Marine Battery
Unplug the negative (black) cable from the negative post on the battery. Make sure you hold onto the metal portion of the tool, not the plastic handle, when unplugging or plugging in any cables to avoid potential sparks. Once disconnected, set aside both ends of the negative cable separately.
Next, unplug the positive (red) cable from the battery's positive post. Again, be sure to hold onto the metal portion of the tool and not the handle when unplugging or plugging in any cables. With both ends of the positive cable disconnected, set them aside separately from each other and the negative cables.
Remove the battery from its secured location and set it aside in a safe place. Do not leave it unsecured or exposed to hazardous environmental conditions such as extreme temperatures, moisture, or vibration. If you plan on storing it for an extended period, ensure it is kept in a secure and dry location.
Conclusion
Setting up a marine solar panel and charge controller is important in keeping your boat's battery charged. Remember to be mindful of safety measures when handling cables and connectors, and ensure that all connections are properly secured before turning on the power switch.
Subscribe to Jackery's blog for more helpful articles and tips. If you have any questions or require additional assistance, our customer service team is here to help.






























Leave a comment