


![How To Run Electricity To a Shed [Ultimate Guide]](http://www.jackery.com/cdn/shop/articles/how_to_run_electricity_to_a_shed_by_jackery_665415e8-4d83-4ba3-889a-d2f5d327d2be.jpg?v=1737529496)
Turn your dark shed or yard into a cozy office space or a private room where you can relax after a hectic day. Running electricity can help you create a more comfortable and functional space. Read this article to learn how to run electricity to a shed so that it can be more than just a storage space.
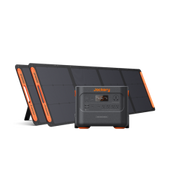
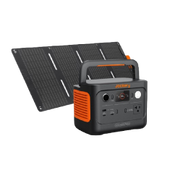
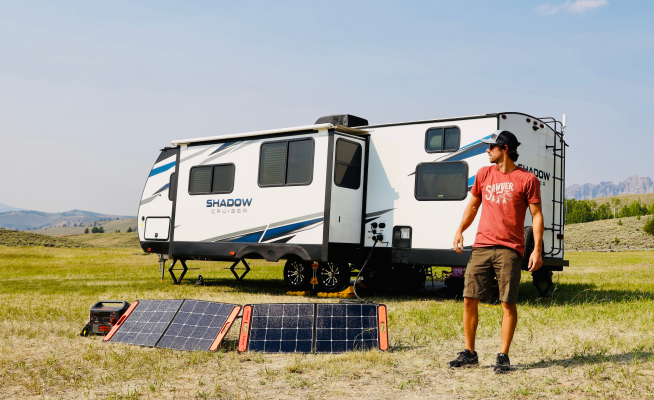
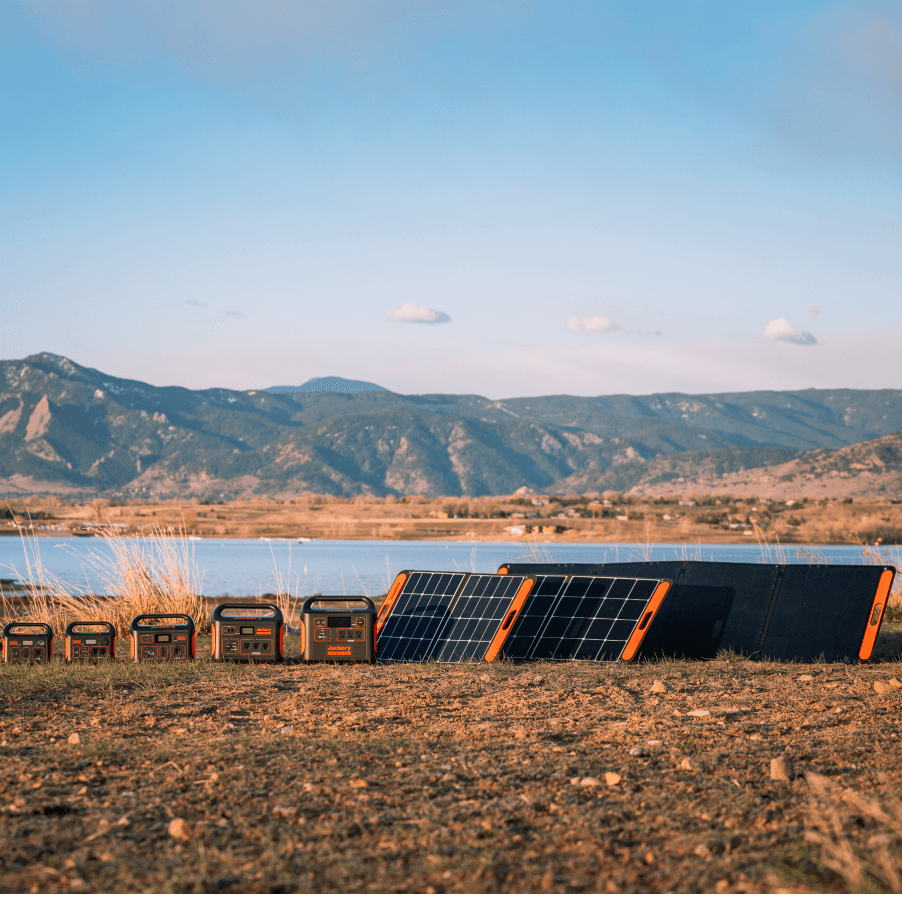
With Jackery Solar Generators, convert your dark shed in the backyard into a cozy space in an eco-friendly way. You can charge most of your electronic appliances indoors and outdoors with no power outlets nearby. The Jackery Solar Generator comes with the Jackery Explorer Portable Power Stations and the Jackery SolarSaga Solar Panels.
Why Should You Run Electricity To A Shed?
A dark shed is a versatile space that people can utilize in several ways while converting it into a workspace or a private room. But it isn't the sole reason for running electricity to the shed. There is more to it, and those are:
- If you have a power source, you can use your shed as a workshop, art studio, or for other purposes.
- The electricity will allow you to install a security system and prevent burglary while keeping your assets safe.
- If you have an electricity heat source available, it can keep your items from freezing, especially if there are arrangements for insulation.
- You can use different electronic appliances with electricity running to your shed and create an outdoor office or a space for your home business.
What To Consider Before Running Electricity In A Shed?
Before you start installing the setup, there are some factors that you need to consider, and those are:
Permit
You will need a permit from your municipality to run electricity to your shed. It will save you from future issues like penalties and fines. You will also need this permit for insurance to cover property damages. If you plan to sell your property, the value might decrease due to the lack of license and paperwork.
Planning and Preparation
There are multiple ways to run electricity to your shed. Therefore, you must judge the options and choose the one that will work for you. You can check the soil, get the distance between your main house and shed, and inspect your area before starting the installation.
Distance
The distance from point A to point B is crucial to determining the wire length. The wire must be long enough to conduct electricity without damaging the circuit, and the voltage must be handled to avoid issues like overheating. Hence, to measure the wire length correctly, it is crucial to consider the "voltage drop."
Wire Size
A circuit must have the correct wire sizes because the pressure and flow of electricity vary depending on the size of the wires. For example, smaller wires work fine for lamps, laptops, and phone chargers, while large ones are essential for appliances like washing machines and ovens.
Circuit Size
Factors like wire size and distance are dependent on the circuit size. Each circuit uses its circuit breaker, which decides the amount of electricity flowing through it. Generally, most homes use 15-amp circuits. Thus, most home appliances are designed to work on 15-amp circuits. When installing the circuit in your shed, it is better to keep the setup dedicated to a shed only. It will help you disconnect it when required without disturbing other circuits.
What Options Do You Prefer For Running Electricity in a Shed?
There are multiple options if you plan to run electricity to a shed. The location of your shed, how far it is from your main house, and the condition of the ground are the key factors that can impact the system and the cost of running electricity to your shed. While planning on how to run electricity to a shed, you should consider the choice that will be convenient for you:
Extension Cord
Extension cords are easy to install, and their maintenance is inexpensive. However, it is not a permanent solution because these aren’t suitable for heaters and similar appliances, especially for a long time. Moreover, these are prone to safety hazards due to constant overheating and can even damage the setup during heavy snowfall or rainfall.
Cable Above the Ground
Cable above ground is a cheaper option. Its installation is hassle-free and provides a permanent power source. Install these cables when a certain distance lies between your shed and the main house. However, this setup requires a permit and an electrician.
Underground Feeder Cable
As the name suggests, this setup has cable buried under the ground, which makes it secure against multiple weather conditions. Moreover, it is pocket-friendly, and you can avoid water and other underground elements with this setup. However, it is hard to troubleshoot the problem, and repair and replacement are a hassle.
Underground Conduit
In the case of the underground conduits, the wires use enclosed PVC conduit placed underground. They are suitable for high-traffic areas, and the strong and flexible material can endure the impact of most weather conditions. However, it is one of the most expensive and time-consuming options.
Use Solar Generator
If you are trying to avoid wiring or the distance between your shed and the main house is unfavorable when installing wires, you can choose the solar generator. Jackery Solar Generator is a sustainable alternative and does not require any installation because it is portable, and you can place your solar panels in the open area near your shed without any hassle. Moreover, since the Jackery Solar Generators operate off-grid, you can also see a decrease in your electricity bill with these.
|
Options |
Pros |
Cons |
|
Extension Cord |
● Installation and maintenance are not costly. |
● It is not fit for bad weather and is suitable for short-term use. |
|
Cable Above the Ground |
● Easy to install and maintain. The permanent source can avoid digging. |
● Vulnerable to damage caused by rodents and lacks durability in some weather conditions. |
|
Underground Feeder Cable |
● Not prone to weather conditions. ● Installation is cheap. |
● Repairing and replacing include complexity. ● Damage by rodents |
|
Underground Conduit |
● Safe due to enclosed conduit. It can withstand different weather conditions. |
● It is expensive and takes a significant time to install. |
|
Solar Generator |
● Eco-friendly, low maintenance, and cost-effective in the long term. |
● It depends on the weather and may have limitations in terms of power output. |
How to Run Electricity for A Shed?
When considering how much it costs to run electricity to a shed, remember that the time and cost of the project depend on the power option you choose. Running electricity to your shed generally takes a full day, and the average cost is around $101-250.
However, the cost is much lower if you use an extension cord. But it is a temporary setup. So, you can consider the Jackery Solar Generators for an eco-friendly, long-term, and cost-effective solution.
|
Difficulty |
Cost |
Time |
|
Intermediate |
$101-250 |
One Whole Day |
Materials Needed For The Project
- Duct seal
- Fish tape
- Leather gloves
- Pipe bender
- Wire connectors
- RMC (Rigid Metal Conduit)
- Electric boxes and tapes
- Switches
Tools You Need for the Project
- Shovel/ trenching tools:For making the path for underground wiring
- Basic tools:Pliers, drills, tape, cordless drills, wire strippers, screwdrivers, pipe wrench, hacksaw
- Safety gears:To ensure safety when you are working with electric circuits
- Jackery Solar Generators:For charging the outdoor tools that you might require while drilling holes or making connections
- GFCI outlet and outlet boxes:For Powerpoint inside the shed
- Electric wires:Get wires for connection considering the electrical load of the appliances you will use in your shed.
- Circuit Breaker:It helps to integrate the shed's electric system with your home’s electric panel.
- Conduit: To protect the underground wires.
- Voltage tester:To test the voltage of the electric connections.
Here is a step-by-step guide on how to run electricity to a shed:
Planning the Installation: You should start by checking your home electrical panel. A 200-amp electrical panel is required for wire installation in a small house. After this, you can make a wireframe depending on the purpose and capacity of your shed to get a clear idea about the load and amp overload.
Get Wire and Conduit: Overloading can be hazardous, so you must determine the perfect gauge for the wiring. Take the voltage drop into account while doing the calculation. A PVC one for conduit would be better than most other available materials because it is cheap and easy to install and repair.
Make the Trench: After gathering your tools and materials for the project, you must make the underground wiring trench. Before digging, check for any gas pipe in your municipality in that area. It is better to plan the conduit route beforehand and then neatly dig up the area.
Installation of the Switch Box: It is time to install the subpanels in the setup. While fixing subpanels, you should use grounding rods. You can use a sub-panel or switch based on your requirements.
Wire Setup: As you set up the conduit, give it a weatherproof exit. To avoid overload, don’t switch between indoor and outdoor wires. Then, pull the wire using fishing tape through the conduit.
Connect The Circuit: You need a breaker specifically for the shed. You can determine the power your appliances need to operate in your shed. Remember to turn off the electricity before starting the breaker installation process.
Do The Wiring: The final step is to do the wiring; a 12/2 wire goes well with a 20V breaker, while a 14/2 wire is suitable with a 15A one. Use GFCI breakers for GFCI receptacles.
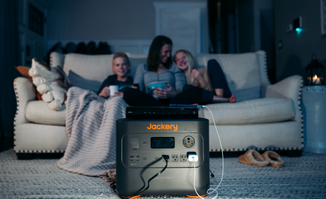
If you don't want to go through the time-consuming installation process of running electricity to the shed via wires, consider charging your shed with Jackery Solar Generators. As they are portable in nature, all you need to do is carry your solar generator to the shed and plug in the appliances.
Jackery Solar Generators for Sheds
Solar generators are one of the best options for running electricity to your shed. They never add to your electricity bills since they operate off-grid. Jackery Solar Generators come with the Jackery Explorer Portable Power Station and the Jackery SolarSaga Solar panels. Thus, these can charge most indoor and outdoor appliances when the nearby power outlet is unavailable.
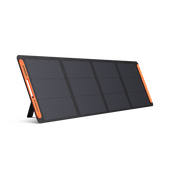
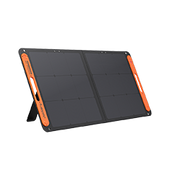
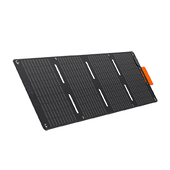
To charge your indoor and outdoor appliances, the Jackery SolarSaga Solar panels convert the solar energy falling on the monocrystalline silicon solar cells to DC electricity. Then, the Jackery Explorer Portable Power Station's pure sine wave inverter converts this DC electricity to AC electricity and helps you charge your appliances inside and outside your shed.
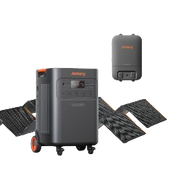
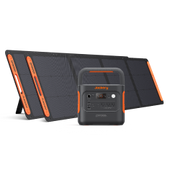
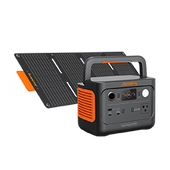
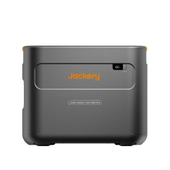
Jackery Solar Generator 3000 Pro
If you are looking for a solar generator that can power up to 99% of appliances, Jackery Solar Generator 3000 Pro is one of the best. You can easily access it through the Smart Control App. It comes with a fully upgraded BMS. The Jackery Solar Generator 3000 Pro can charge 99% of shed appliances and is functional in extreme cold weather conditions, making it suitable to use in sheds and outhouses all year round.

|
Jackery Solar Generator 3000 Pro |
|
|
Capacity |
3024 Wh |
|
Battery Cell |
NMC |
|
Lifecycle |
2000 cycles to 70%+ capacity |
|
Recharging Methods |
Solar Recharging: 3.5 H (6*Jackery SolarSaga 200W Solar Panels) Car Recharging: 35 H Wall Recharging: 2.4 H |
|
Output Ports |
AC Output (x1): 120 V~ 60 Hz 25 A Max AC Output (x3): 120 V~ 60 Hz 20 A Maximum USB-C Output (x2): 100 W Maximum, 5 V⎓3 A, 9 V⎓3 A, 12 V⎓3 A, 15 V⎓3 A, 20 V⎓5 A |
|
Working Hours |
Microwave (960 W): 2.5 H Electric Drill (900 W): 2.6 H Light (5 W): 483.8 H Coffee Maker (1500 W): 1.6 H Mobile Phone (29 W): 83.4 H Refrigerator (520 W): 4.6 H Heater (1800 W): 1.3 H
|
|
Customer Review |
“This generator is a game changer. The battery lasts for hours. Solar panels work great and can be used ANYWHERE.” — Kenny Barrett. |
Kindly note that the working hours calculations are just for your reference, and might vary from the actual values.
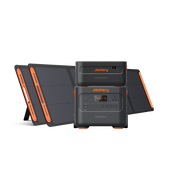
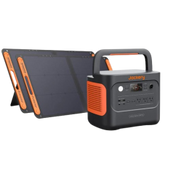
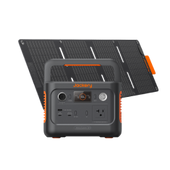
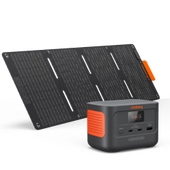
Jackery Solar Generator 2000 Plus
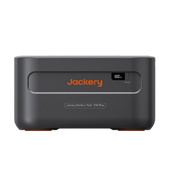
Jackery Solar Generator 2000 Plus is a convenient and cost-effective option for running electricity to your shed. It has an expandable capacity and is hence versatile. You can use it as a power backup for your house and to get electricity inside your shed. With advanced IBC technology used in Jackery SolarSaga Solar Panels, it has the feature of superfast charging. The battery, with a 10-year lifespan, makes it suitable for long-term usage.

|
Jackery Solar Generator 2000 Plus |
|
|
Capacity |
2-24 kWh |
|
Battery Cell |
LiFePO4 |
|
Lifecycle |
4000 cycles to 70%+ capacity |
|
Recharging Methods |
Solar Recharging: 2 H (6*Jackery SolarSaga 200W Solar Panels) Car Recharging: 25 H Wall Recharging: 2 H |
|
Output Ports |
AC Output (×4) 120 V~ 60 Hz, 20 A Maximum AC Output (×1) 120 V~ 60 Hz, 25 A Maximum USB-A Output (x2): Quick Charge 3.0, 18 W Maximum USB-C Output (x2): 100 W Maximum, (5 V, 9 V, 12 V, 15 V, 20 V up to 5 A) |
|
Working Hours |
Hand Drill (400 W): 4.0 H Electric Drill (900 W): 1.8 H Angle Grinder (400 W): 4.0 H Coffee Maker (550 W): 2.9 H Electric Oven (800 W): 2.0 H Heater (1800 W): 54 min
|
|
Customer Review |
“Quality all the way! Works like a charm!” - Jared. |
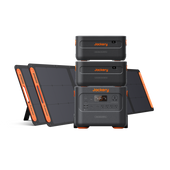
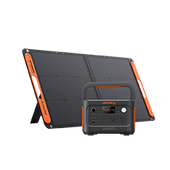
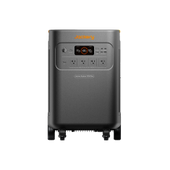
Jackery Solar Generator 5000 Plus
Jackery Solar Generator 5000 Plus can be a valuable addition to your shed as you can charge almost all of your shed appliances for long hours. It is a powerful home backup solution that supports dual voltage. Whether you want to charge a refrigerator at 120V or a clothes dryer at 240V, the solar generator can meet your power needs. The solar generator is also expandable, and you can extend the battery capacity by up to 60kWh with the add-on battery packs.
|
Jackery Solar Generator 5000 Plus |
|
|
Capacity |
5040Wh |
|
Battery Cell |
LiFePO4 |
|
Cycle Life |
4000 cycles to 70%+ capacity |
|
Recharging Methods |
AC charging: 3.5 hours Charging via Smart Transfer Switch: 1.7 hours Solar charging (500X x 2): 6.5 hours High-voltage PV charging: 1.7 hours Hybrid Charging (AC, Solar Panels, and Smart Transfer Switch): 1.7 hours |
|
Output Ports |
AC Output: (NEMA L14-30R/14-50) 120V/240V~60Hz, 30A, 7200W Max AC Output(x4): 120V, 20A, 2400W USB-A Output(x2): 18W Max, 5-6V⎓3A, 6-9V⎓2A, 9-12V⎓1.5A USB-C Output(x2): 100W Max, 5V⎓3A, 9V⎓3A, 12V⎓3A, 15V⎓3A, 20V⎓5A Cigarette Lighter Port: 12V⎓10A AC Expansion Port (Output)(x1): 240V~60Hz, 30A, 7200W DC Expansion Port (Output)(x1): 80.5V-126V⎓41A Max |
|
Working Hours |
Microwave (700 W): 5.7 H Electric Drill (900 W): 4.4 H Hand Drill (60 W): 67.2 H Electric Drill (900 W): 4.4 H Brunch Crusher (1800 W): 2.2 H Electric Pressure Cooker (1080 W): 3.7 H Electric Oven (1600 W): 2.5 H |
|
Customer Review |
“The Jackery Explorer 5000 Plus features a user-friendly interface, complete with an informative display that presents real-time data regarding battery usage and remaining power. Overall, the Jackery Explorer 5000 Plus is a superior choice for anyone in need of dependable and versatile power solutions.” — Customer. |
What Size Wire Do You Need for A Shed?
The voltage drop depends on the distance and the wire size, where a drop is commonly 3% in the case of standard performance. Here are some examples of wire sizes:
- 8 Gauge -15 Amp
- 6 Gauge - 20 Amp
- 4 Gauge - 30 Amp
- 2/0 Gauge - 100 Amp
Factors You Need to Consider to Select the Best Wire for the Shed:
Selecting the correct wire size can be tricky at times. Here are some factors that you may consider while choosing the best wire for the shed:
- Underground feed cables are used to bring electricity from home to the shed. You must consider the distance between your main house and the shed to understand the load, which will help you decide on the wire size.
- The wire must handle the current of the appliances you will use in the shed. Otherwise, overheating will damage them eventually.
- If you plan on adding devices that require 240 V service, you need to plan the wire size accordingly.
- If you are doubting the performance of the wire, select the next larger size of the wire.
Electricity for A Shed FAQs
How do I get electricity to my shed?
You can use external or above-the-ground wiring or a solar generator as a power source. Then, you can place the switches and outlets, connect the circuit, and do the wiring to get electricity to your shed.
Do you need an electrician to run power to a shed?
You can plan the project and use RMC to run wires to your shed. However, you must follow the National Electric Codes to avoid future issues with the authorities. You may also use Jackery Solar Generators to run electricity to your shed. If you want a dedicated circuit to use heavy-duty appliances and aren’t sure about how to do it, you may consult an expert electrician.
How much does it cost to run electrical to a shed?
If you plan on getting electricity to your shed, you must know how much it costs to run electricity to a shed. The price may vary based on the distance and option you are availing. Generally, it is $10-25 per linear foot, making it an average of $500-3800 if you install 50-150 feet of Underground Wiring. Here is the cost to get electricity in the shed (in this data, the wiring inside the structure is not considered):
|
Length of Run |
Underground Cost ($) |
Above-ground Cost ($) |
|
50 |
500 - 1250 |
250 - 350 |
|
100 |
1000 - 2500 |
500 - 700 |
|
150 |
1500 - 3800 |
750 - 2300 |
|
200 |
2000 - 5000 |
1000 - 3000 |
|
300 |
3000 - 7500 |
1500 - 4500 |
|
500 |
5000 -125000 |
4000-7500 |
Can I use an extension cord to power my shed?
You can use an extension cord to power your shed. However, it is only a temporary option and can be vulnerable to weather conditions. Though it is a cheap option, overheating can damage the appliances in the long run.
Final Thoughts
If you want to explore the versatility of your shed, you must know how to run electricity to a shed and convert the dark shed into a cozy workspace or a private room. With electricity in your shed, you can heat your space and run all appliances, making the place suitable for work, business, and pleasure.
You can opt for the traditional wiring method, but that’s often a hassle. It requires a lengthy installation process. Thus, you can opt for Jackery Solar Generators to run electricity to the shed. They are portable and do not involve a hefty installation process, making this an easy setup process. Jackery Solar Generator 3000 Pro can charge 99% of your appliances and are suitable for different weather conditions.


Leave a comment